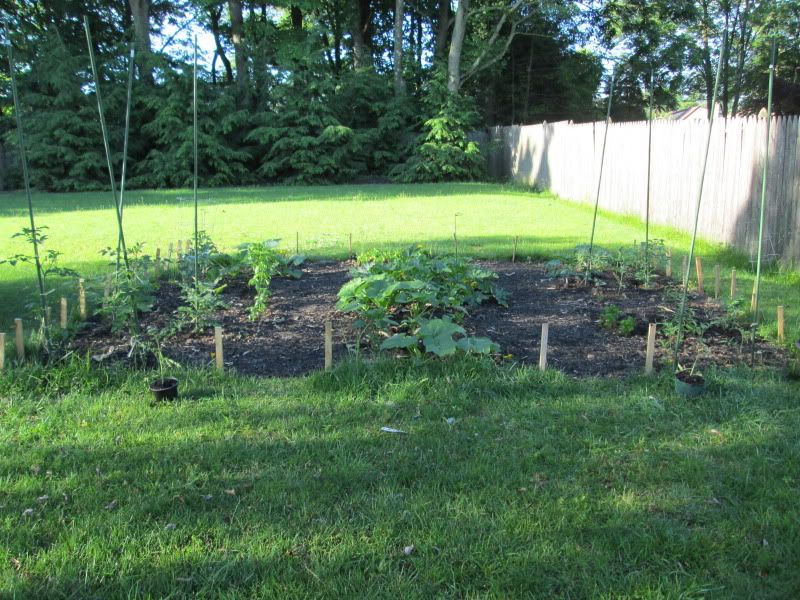
It occurred to me as I was looking at my original garden post that the whole thing has just gone gangbusters in the last month. Here's how things looked in early June:
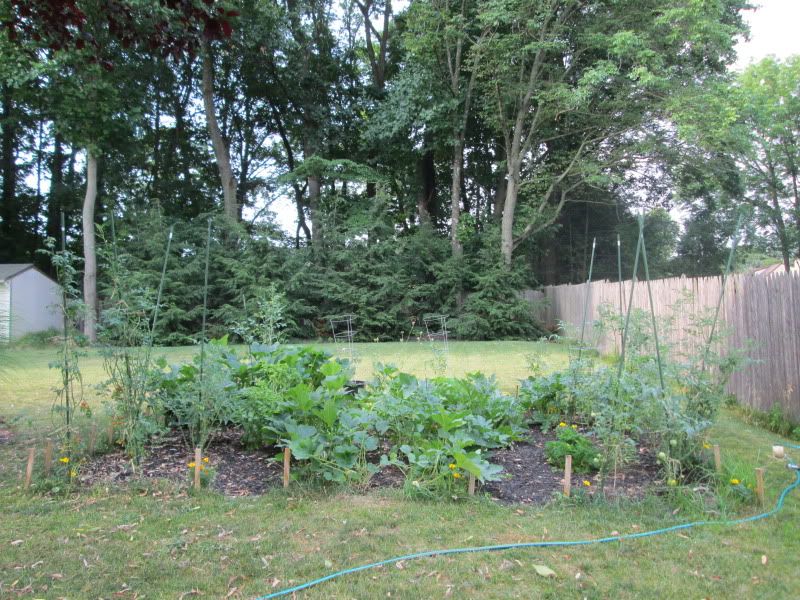
This is the picture I took this morning:
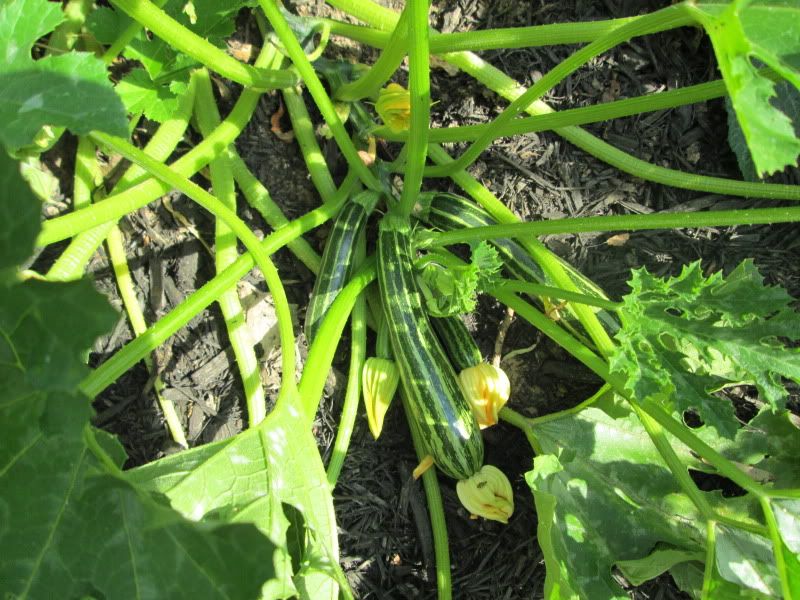
The zucchini have been particularly productive. I've already gotten more than 30 from three plants. Some of the tomatoes are just starting to ripen. The Super Sweet 100s were the first, but I tend to snack on them while I'm working on the rest of the garden, so often they don't make it to the house.
Here's the rest of the garden tour:
The extremely prolific zucchini.
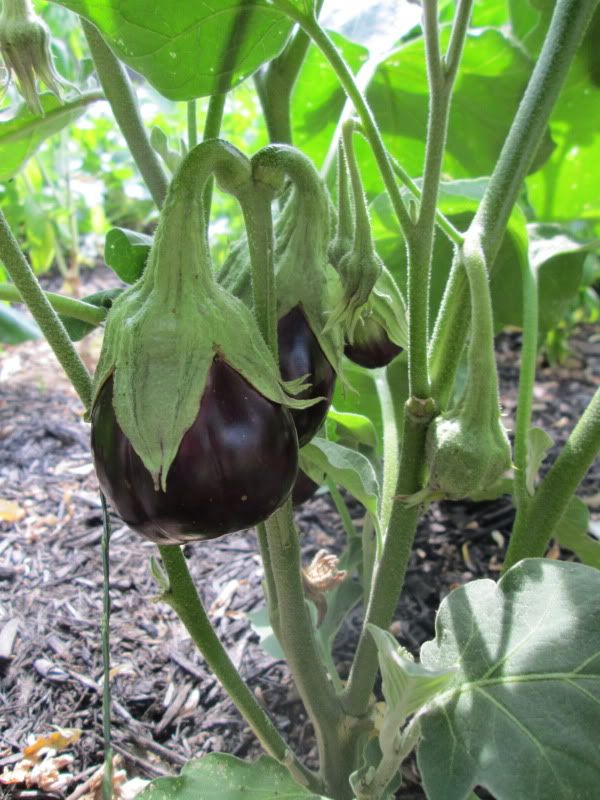
Black Knight Eggplant. Haven't harvested any yet, but they're on their way.
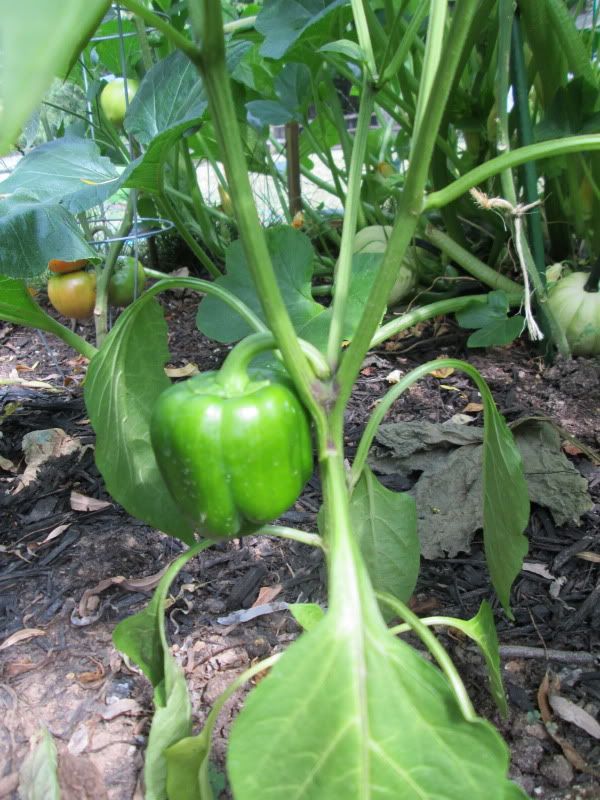
California Wonder Peppers.
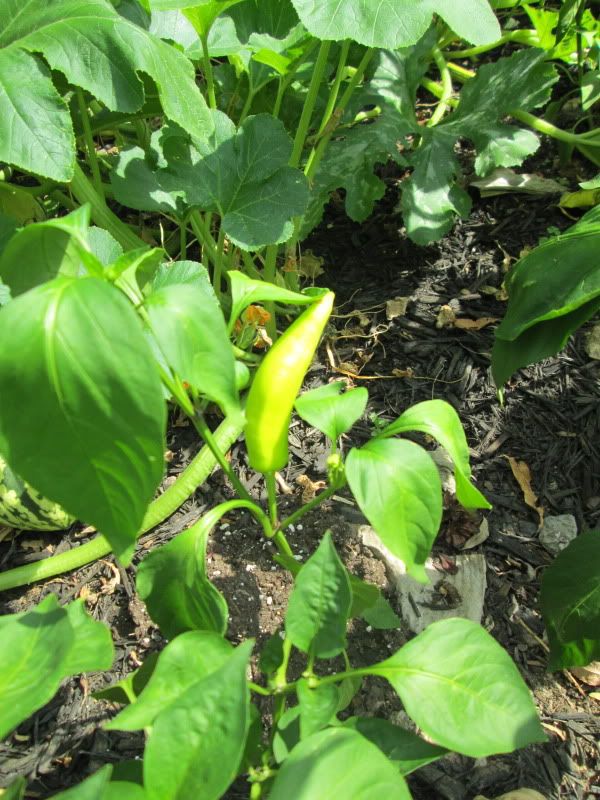
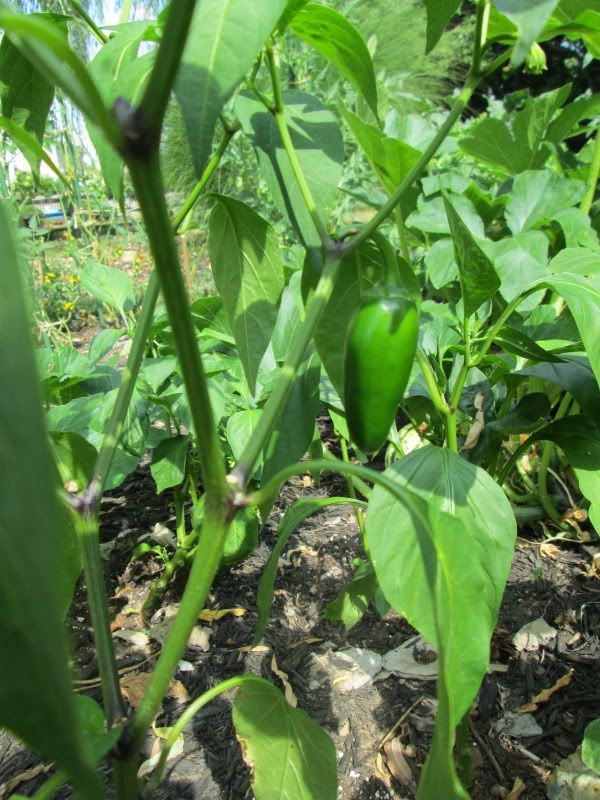
Hot Pepper.
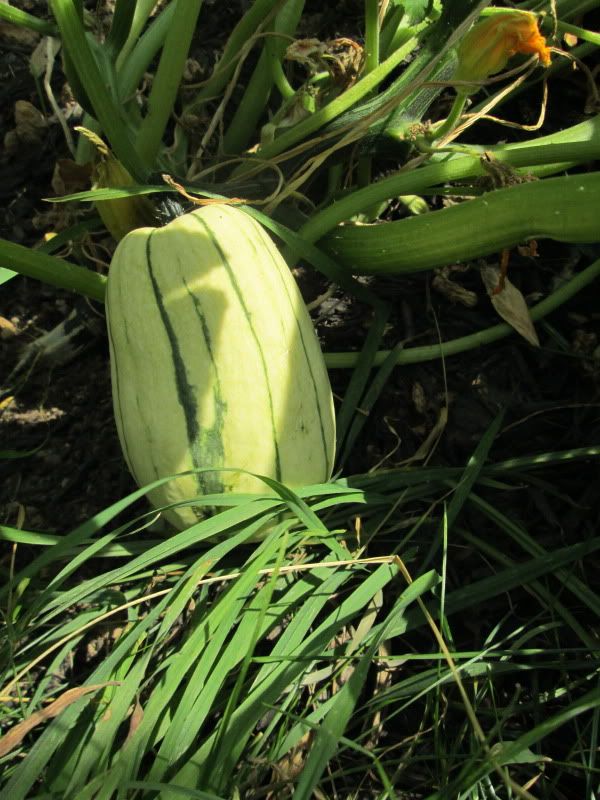
Delicata Squash.
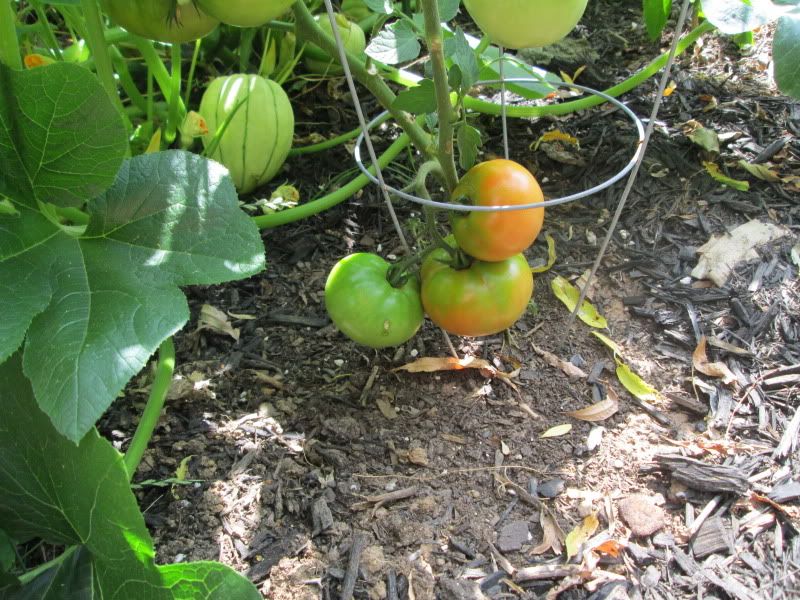
Celebrity Tomatoes. These are pretty big and I harvested the first one yesterday.
Mucho Nacho Jalapenos. I've harvested six so far and they aren't very hot, but are great on the grill stuffed with cheese (cut the top off, core and stuff it, and then put a skewer through it lengthwise to keep them from falling apart).
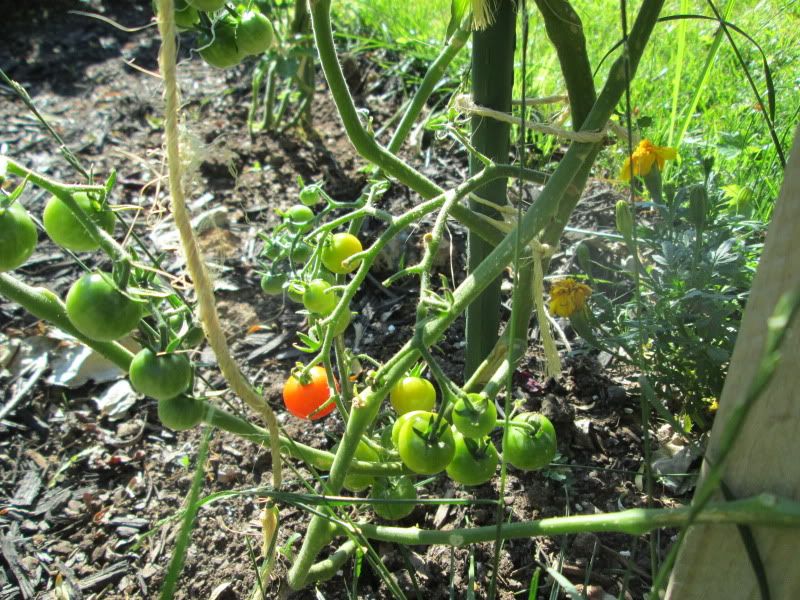
Super Sweet 100s. Perfect garden snack!
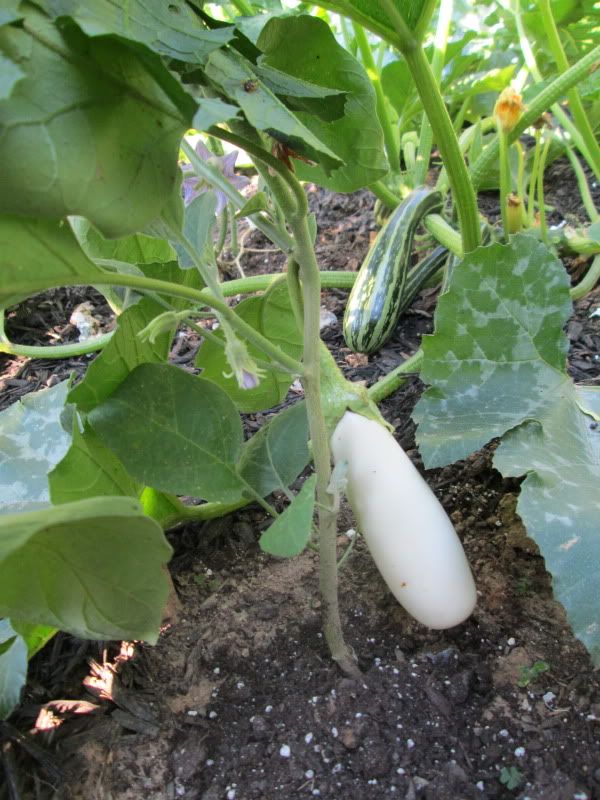
White Eggplant. I harvested the first three on Wednesday and they were delicious!
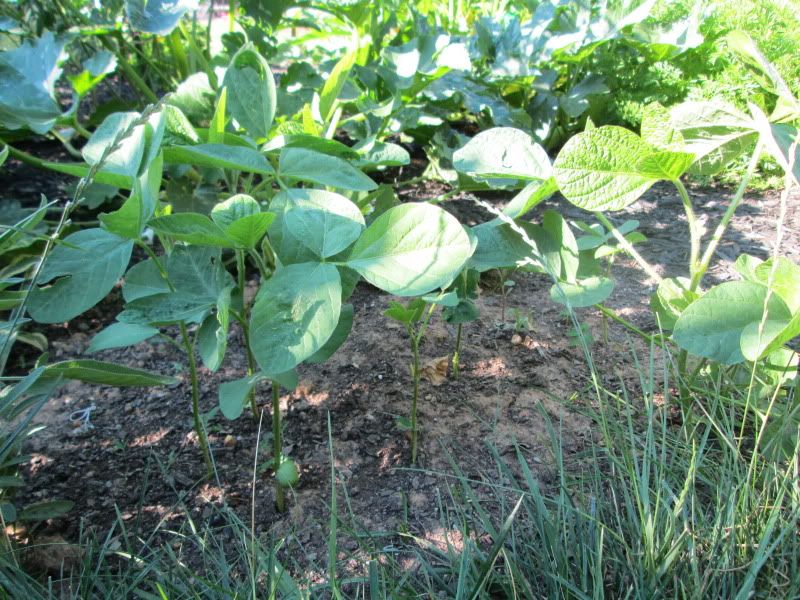
Soybeans. These won't be ready for another six weeks or so, but we're looking forward to some garden fresh edamame.
This is a garden bed the previous owners had on the side of the house. It gets partial shade so it's great for carrots, lettuce, parsley, dill, onions and rosemary.
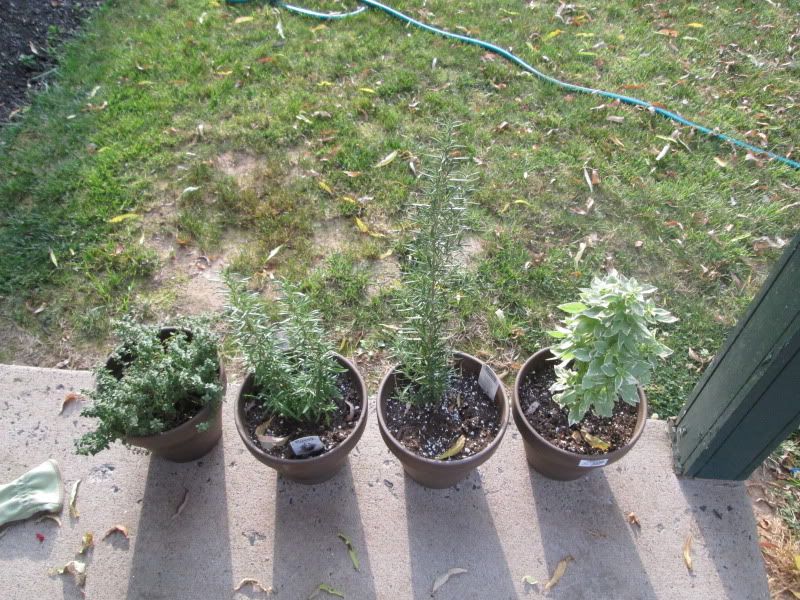
And finally, the potted specialty herbs that will eventually make their home on our kitchen window sill. From L to R: lemon thyme, barbecue rosemary, tuscan blue rosemary and pesto basil.