Showing posts with label Molding. Show all posts

Friday, August 3, 2012

Upgrading the Dining Room Window

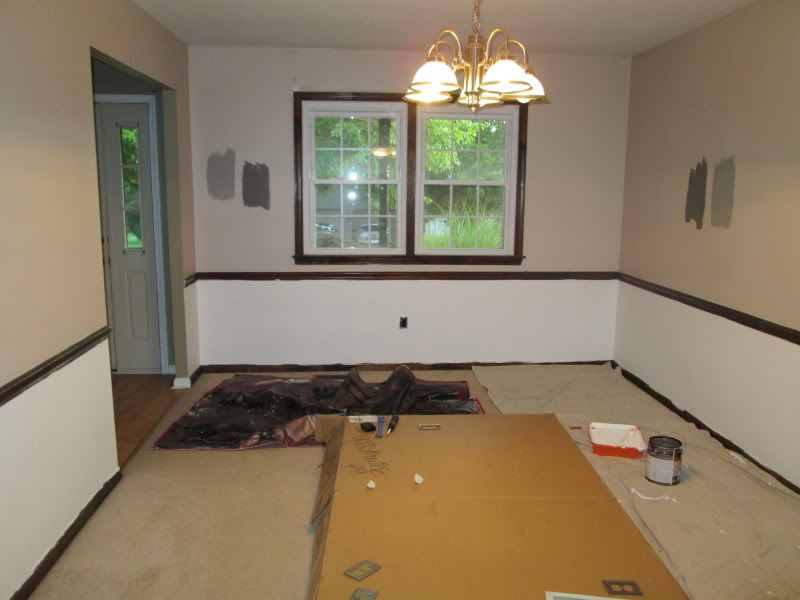
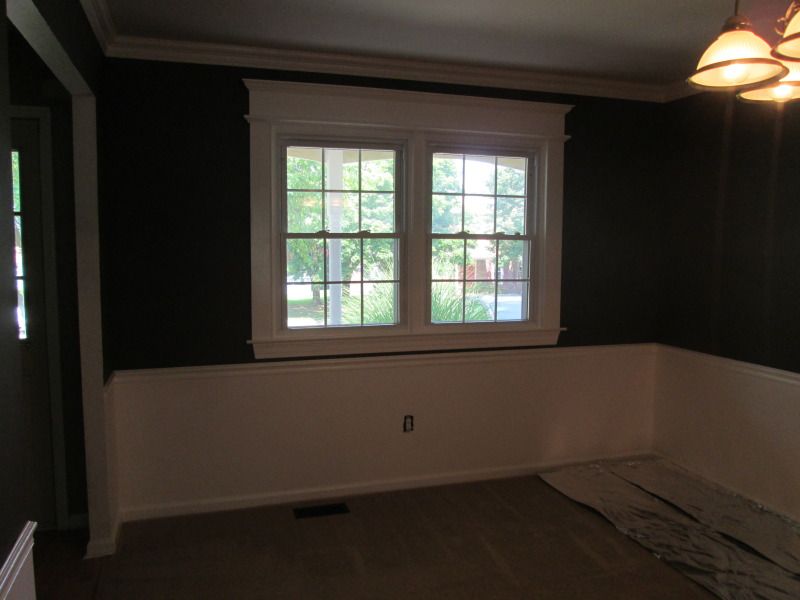
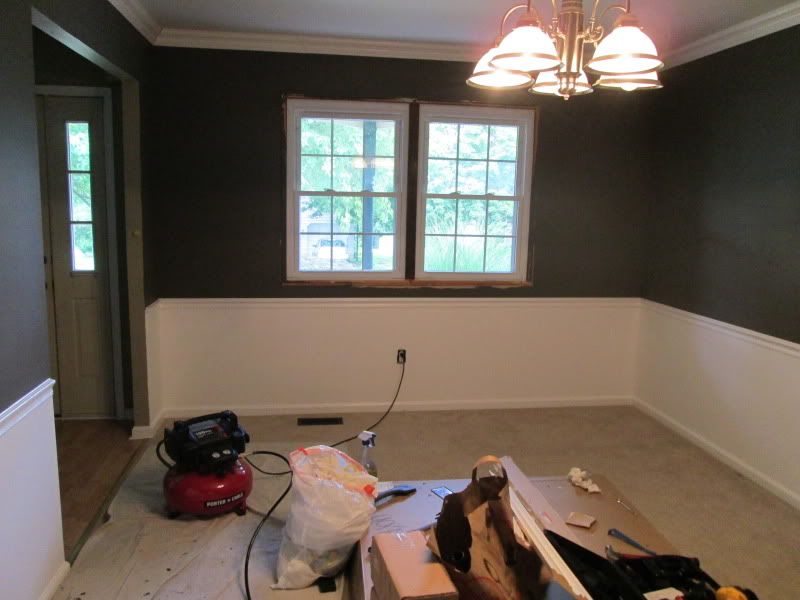
When we decided to make our dining room more formal, we knew the molding would be a major part of it. The old window casing just wasn't anything to get excited about:


I wanted something bigger with a bit more polish. Like these:


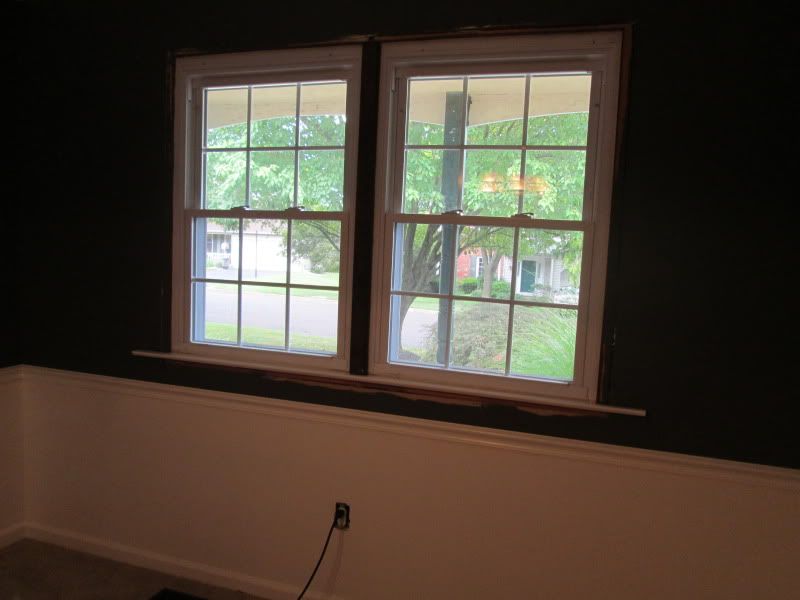
To make the casing wider, we needed a longer window sill to support it. I measured the length of the window, added the width of the casing (4.5 inches) times two, and added another inch on each side for over hang.


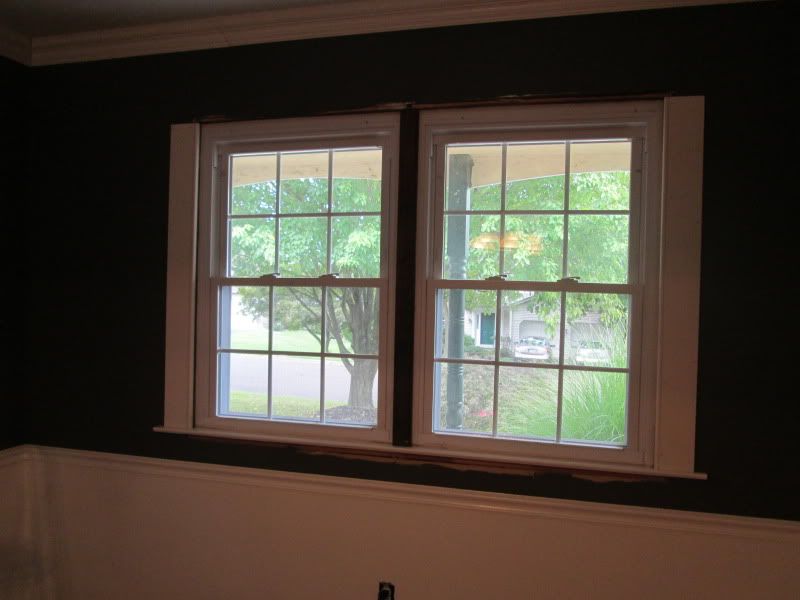
And luckily, the side casing seemed to fit just right. 

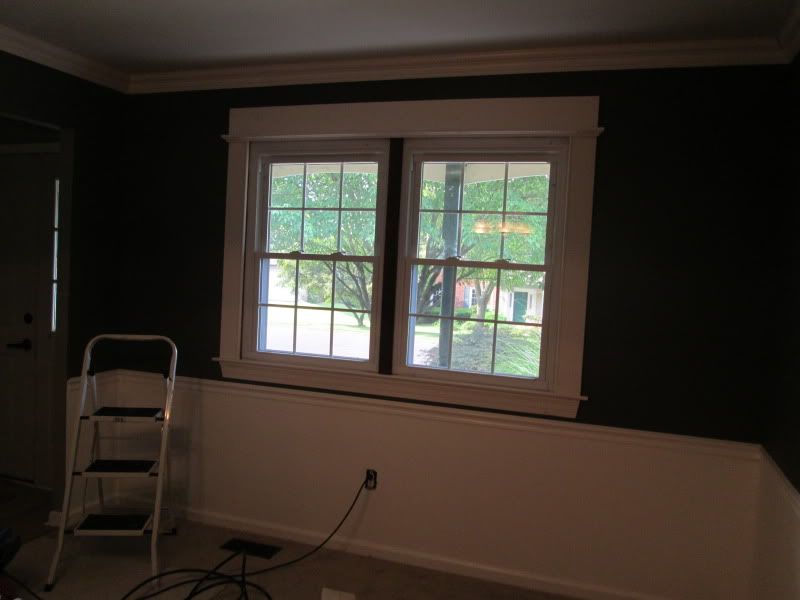
The frieze (that big wide board on top) needed to be the length of the window + width of the side casing times two. The apron (the thing under the sill) needed the be the same length as that, but then cut at a subtle 10 degree angle. 

Originally I had ordered a 2.5 inch solid crown to go at the top, but it was too heavy and we were worried that it would put a strain on the other pieces and likely the caulk that will hold it all together. I picked up a regular crown that was basically the same to replace it. 

Viola! Our completed window casing.


Monday, July 23, 2012

The Dining Room has a Crown

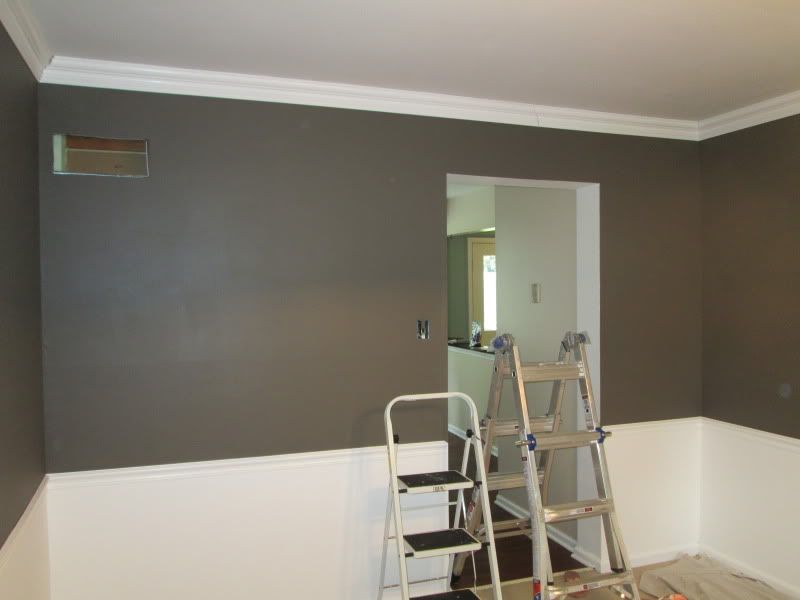
I've been in a house rut for the last week but finally broke out of it this weekend with Josh's help. We'd attempted to install the crown molding in the dining room last weekend but were stopped dead in our tracks by our uneven walls and ceiling. We had gotten one side of the room done but couldn't proceed until we had a solution.

We had originally been using our double bevel miter saw to do standard angles, but those don't work with overly wonky walls. That meant that we had to cope the joints.

Coping the joint means that you remove the material behind the face of the molding. Here's a picture of someone doing it with a coping saw:


Anyone who knows my history with kitchen knives knows that isn't something I should try. I'm pretty sure I would have hurt myself using a coping saw. Luckily, we have a Dremel and with the quick purchase of a carbide shaping wheel attachment (~$15) we were in business. 

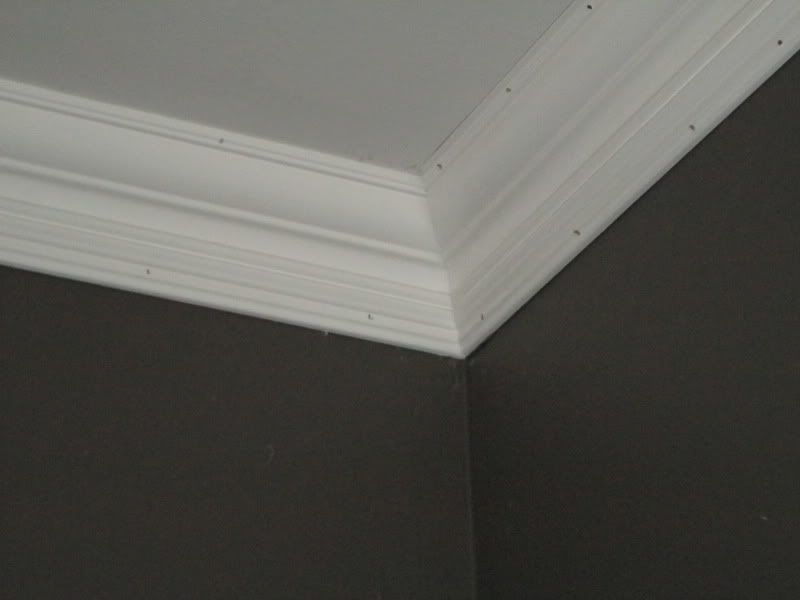
Once the joints were coped, life got much easier and we were able to push everything where it needed to be to look nice and straight.


Behold - pretty, caukable joints that will look great once everything is filled and painted.

Friday, July 6, 2012

Choosing the Crown

I love the charm of old homes, but we had decided to go with something younger early in our house hunt. Not that there aren't issues in our late 80's home, but the increased insurance costs paired with the requirements of owning a home with a historical designation (LOTS of rules and regulations for how you fix and upgrade things) made us feel like it just wasn't a good idea for our first house. As a compromise, Josh told me that I could add charming details to whatever house we bought.

So begins my first crown molding project - the dining room. As previously mentioned, we're going for an elegant, formal feel and the moldings really need to reflect that without going too over the top. Something like this would be very out of place in our 1986 center hall colonial with eight foot ceilings:

myfinishcarpetry.com is the former site of The Joy of Moldings

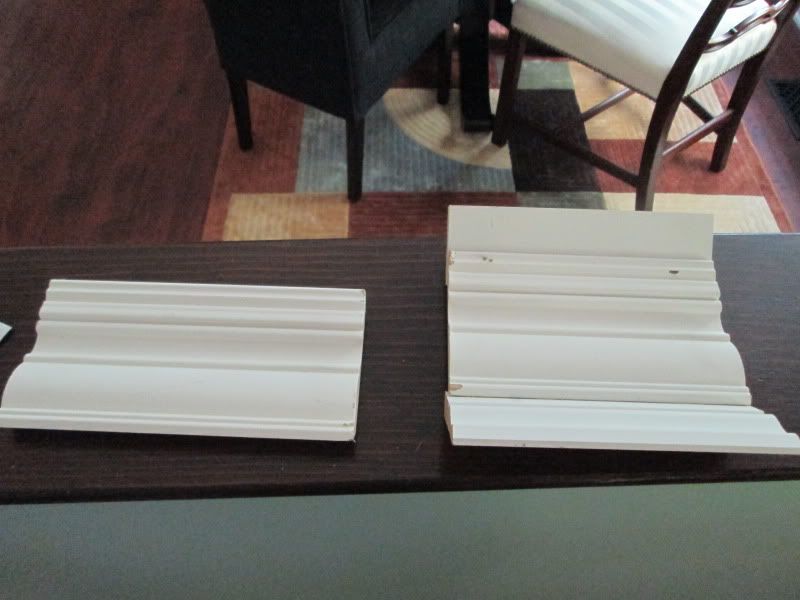
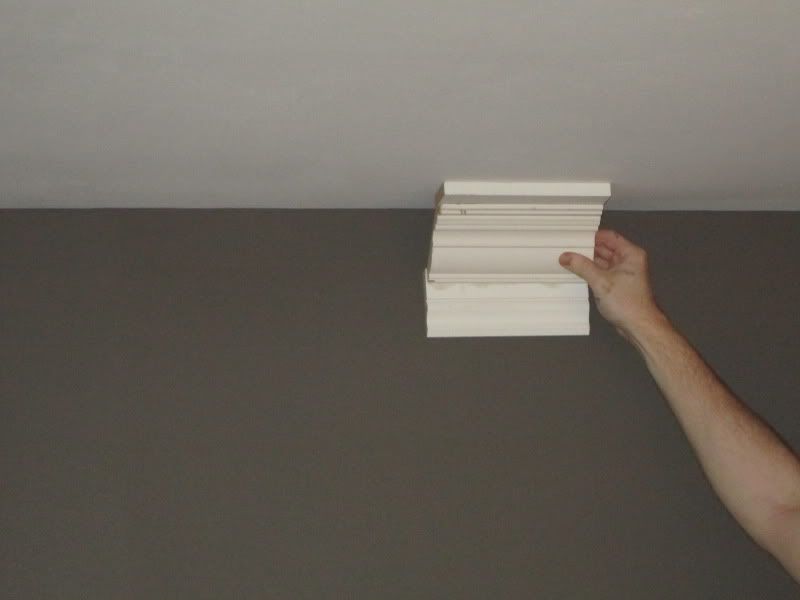
In all of my internet research, the best blog that I've found is The Joy of Moldings. They break their projects down well and show the exact combinations of pieces that are used. Ken is completely opposed to one-piece moldings and reading his posts convinced me that we needed a three-piece molding. What do I mean by one-piece and three-piece? Here is the one-piece next to the three-piece sample I made for the dining room:


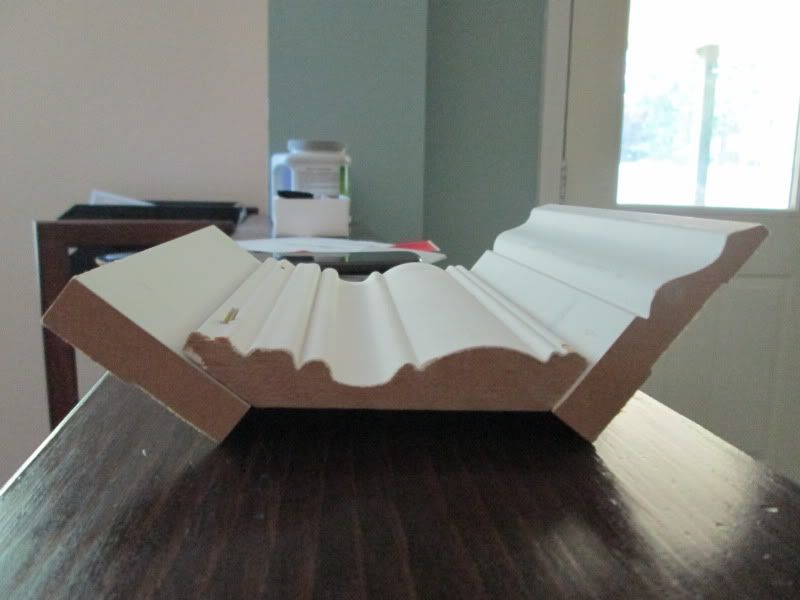
And the profile of the three-piece. You can see that there is a flat piece at the bottom and an ogee baseboard at the top. The one-piece is only the middle molding.


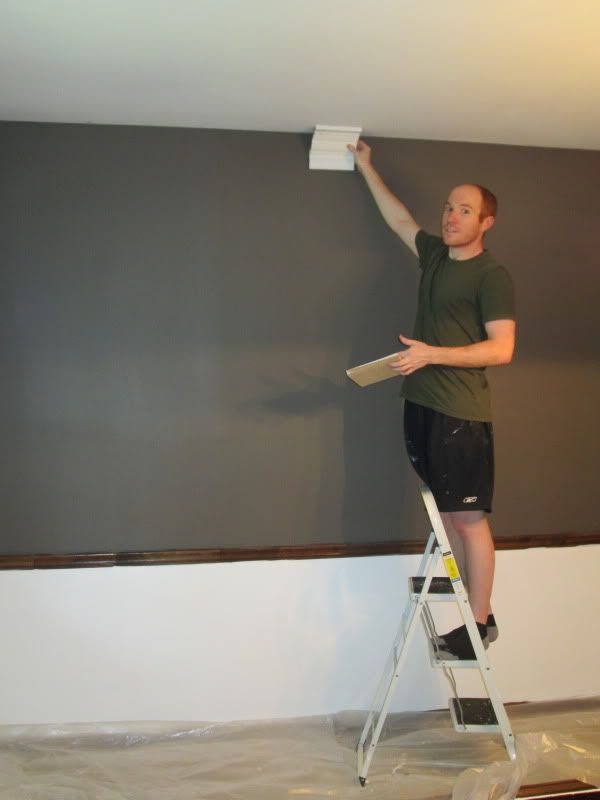
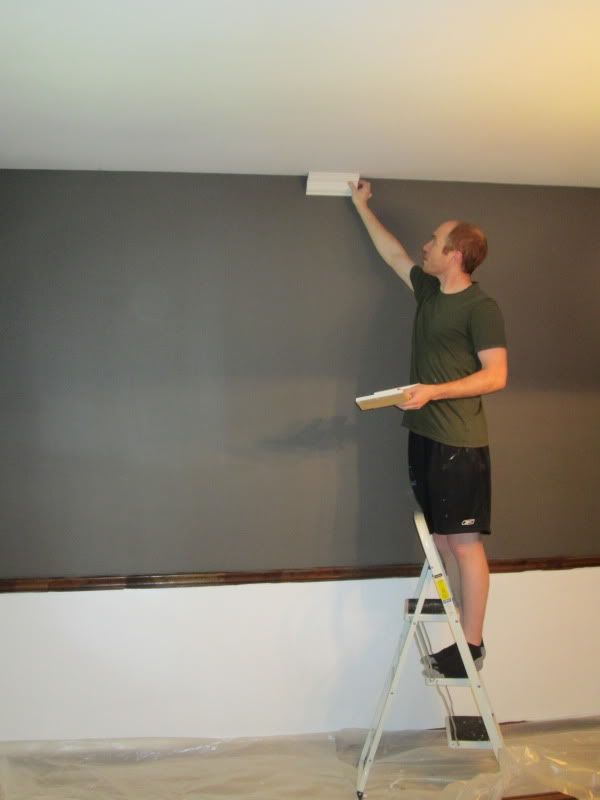
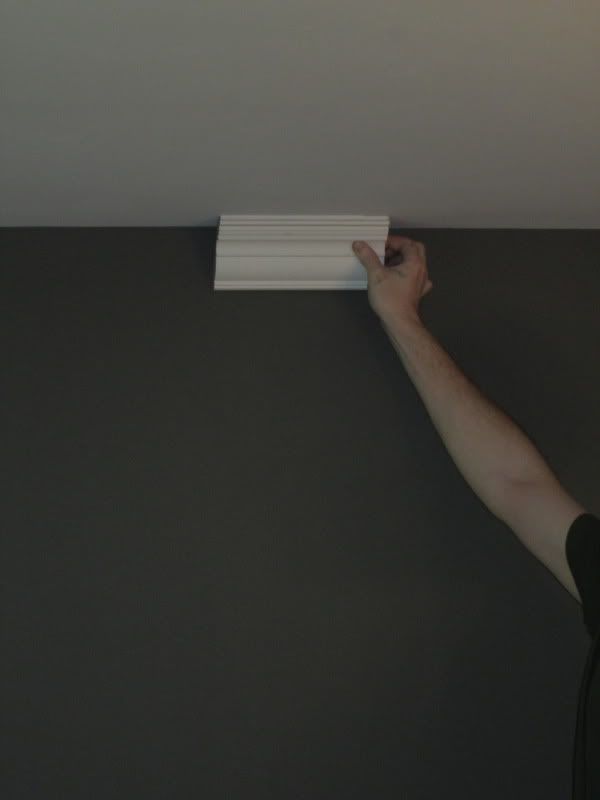
Josh named the three-piece crown "monster molding" and thought it would be a bit too much for the space. Of course by expressing that sentiment he was volunteering to spend 30 minutes on a ladder in the dining room holding them up so that I could ponder the decision.


 I'm pretty sure he's holding it upside down, here. 

I hate when this happens, but I think he's right.  The three-piece would be overpowering to the rest of the room and our ceiling height just doesn't work with it. I may eventually add a picture rail below it to take it up a notch, but again, that will depend on the door casing which will depend on the wainscoting which will depend on the flooring, so it's a tbd for now.

Friday, June 29, 2012

The Bead Board is Capped

Ugh, the room that will not die is one step closer to completion. The cap is on the bead board, which means that caulking and painting the trim is the last step in the process.


We've already painted the interior of the doors and the bead board itself to cover up the seems and nail holes, which really made everything look much better. It's definitely motivation to finish the rest of the project.

Wednesday, June 27, 2012

It's a beadboard bonanza around here!

You may recall all of two posts ago, that I vowed to get the mudroom done by June 30th.  Josh knows that it kills me to have unfinished projects waiting for me. I love completion! That's why, being the best husband ever, he helped me pound out some major mudroom progress this past weekend!!!

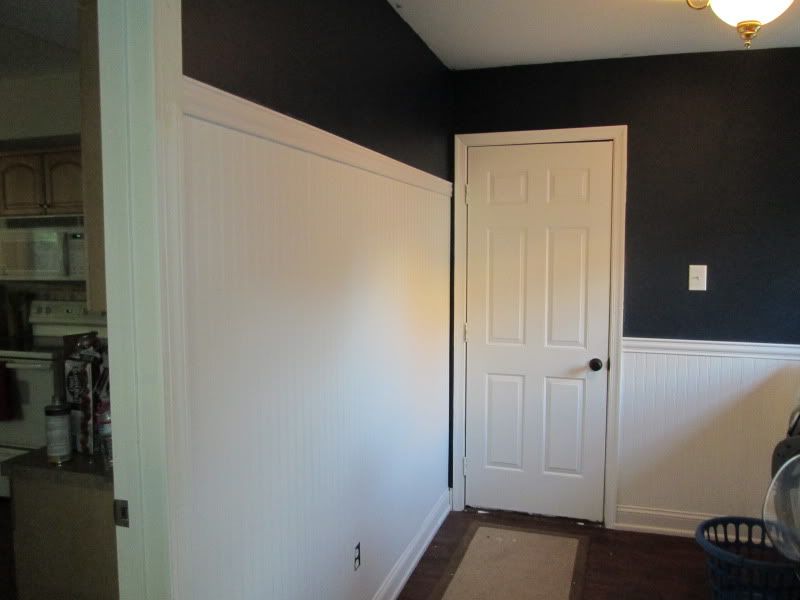
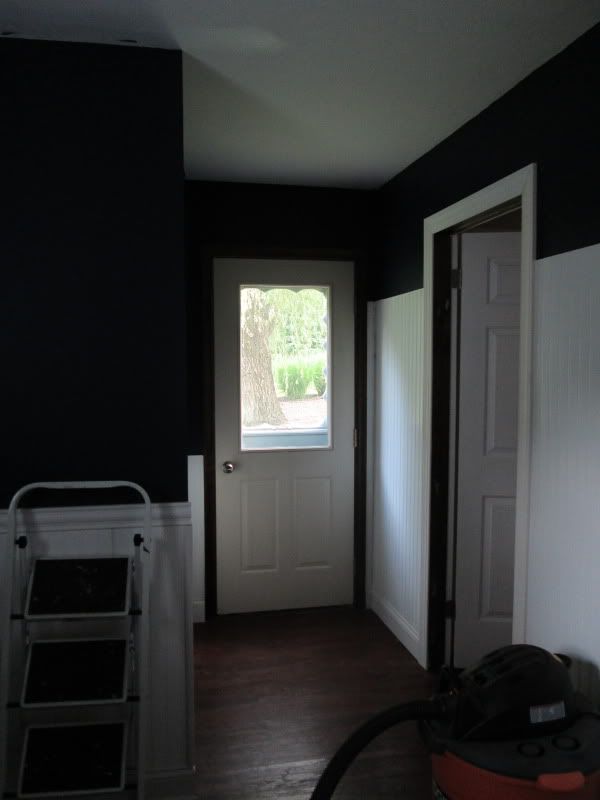
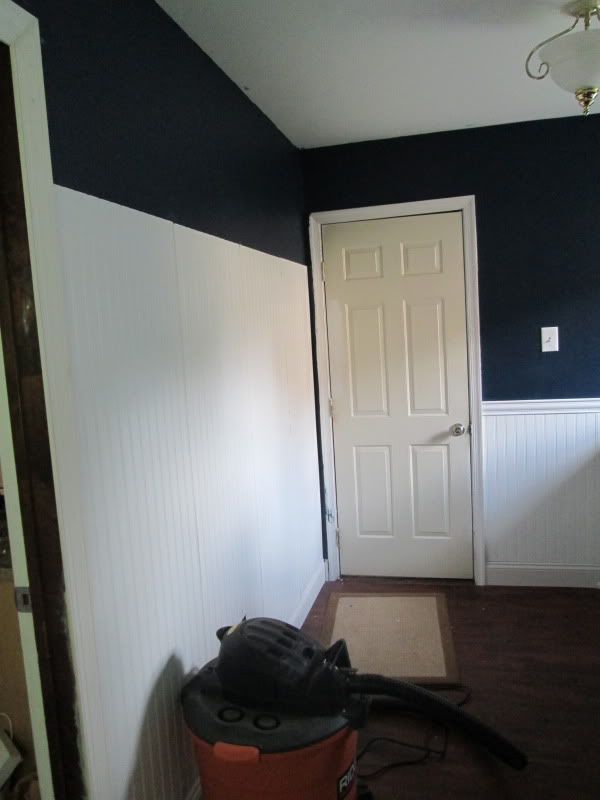
We cut and installed all of the base molding and bead board and put a new door casing on the door that goes from the mud room to the kitchen.

Before:

With paint, base molding and new door casing:

With bead board:


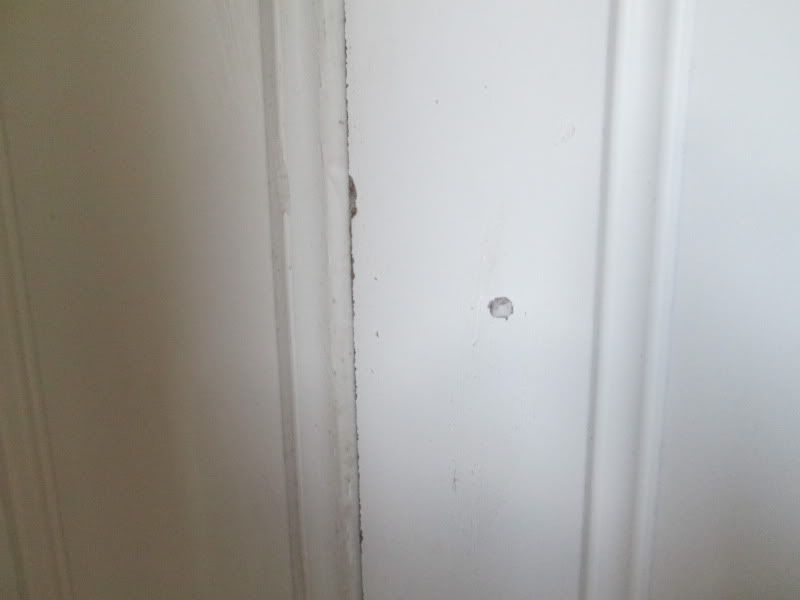
The bead board is still very rough. I've used caulk and wood putty to fill the holes and seems but will go over them one more time to make it all look as clean as possible.


Once everything is sufficiently patched, I'll go over the boards with a pure white in satin and the trims in a pure white semi-gloss. Then I'll add the chair rail to the top and add a piece of flat trim to the long wall for coat hooks.

Josh is taking a class on electrical work for homeowners, so hopefully after his lab this week he can switch out that handy dandy nipple light for one of these:
 I also have to figure out what kind of shelving and storage I want. That part might be finished after my self imposed deadline.

Tuesday, June 19, 2012

Mud Room Progress

The mud room was high on the priority list when we moved in - well, half of it was. We had ordered our new washer and dryer (GE Profile front loaders) to be delivered the weekend we moved in, so life would be substantially easier if we finished the area behind it prior to their arrival.

Josh didn't really understand why I cared what the mud room looked like, but my personal view is that every room in our house should be presentable. Also, you must pass through the doorway to the room to get to the downstairs bathroom, so it would definitely be seen by guests.

My goal for the room is for it to eventually be pretty and functional. At this stage, it's neither.

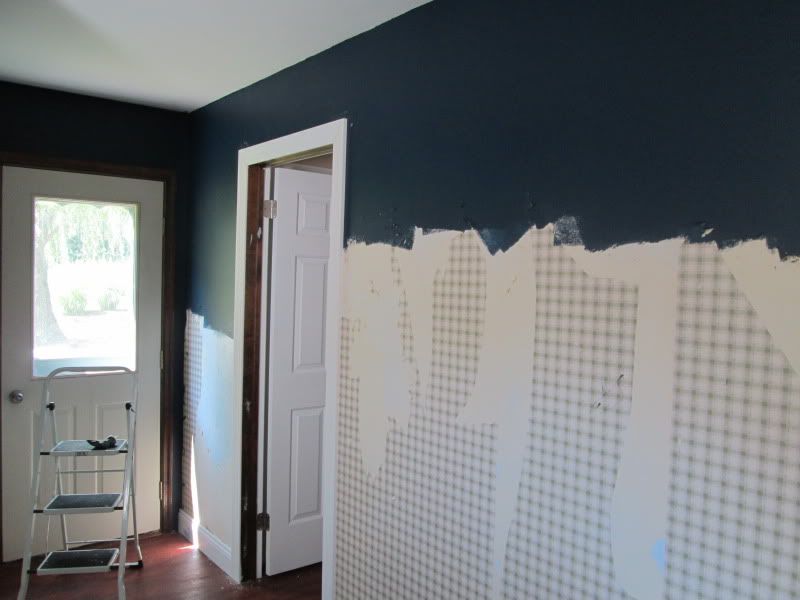
Here is where we started:
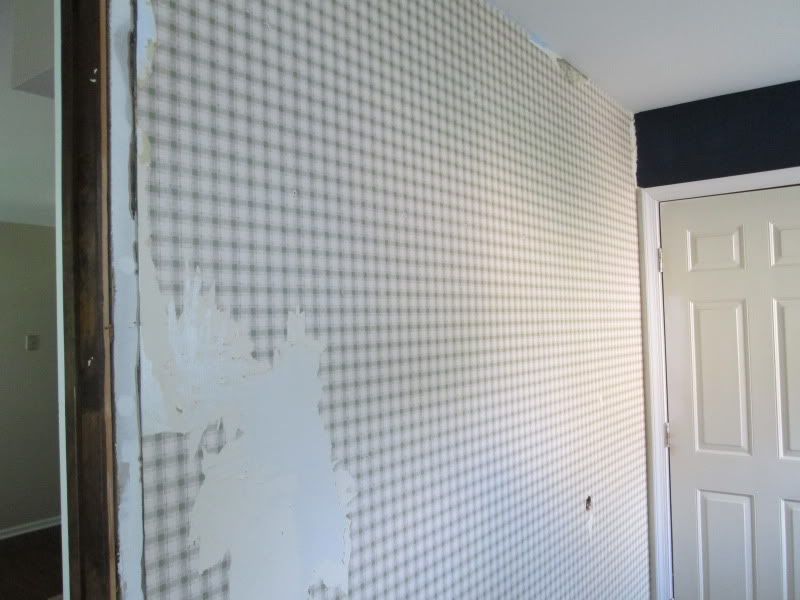
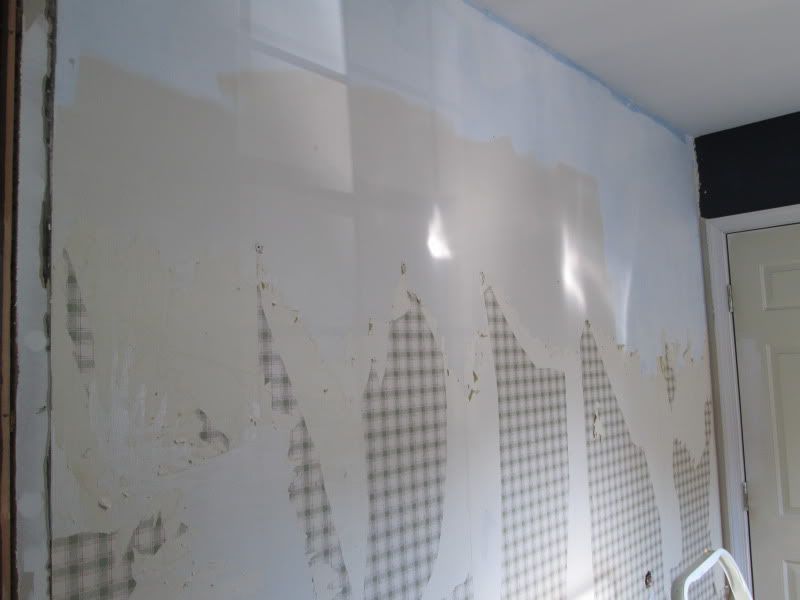
Confession: I took this photo after we started, but wanted to include a shot of the original wallpaper.

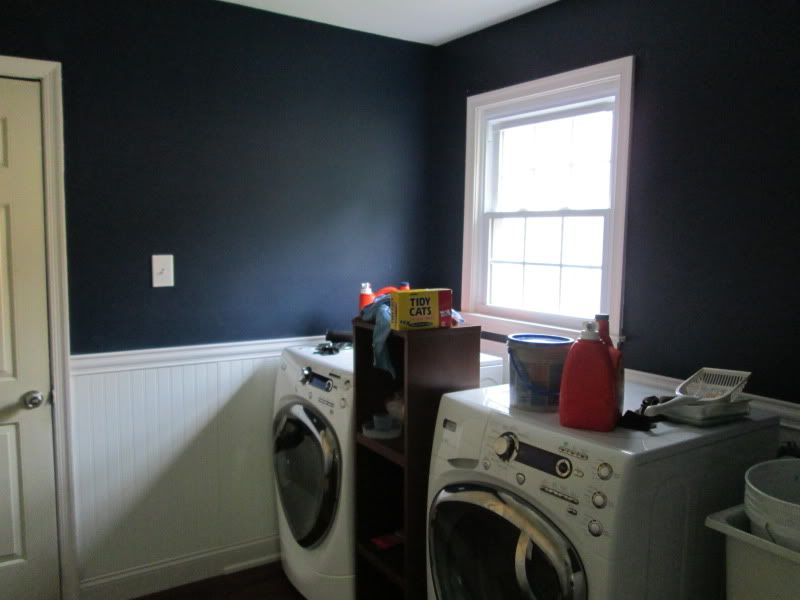
The wallpaper was pretty terrible - it had to go along with the curtains and the cabinet. In its place I'm indulging my love of molding and charm in general and putting up bead board. For the wall color, I decided to go with something dark, since the laundry room seemed like a good place to take a risk. We (okay, I) went with Behr Ultra Starless Night.

So, two months later half of the room is done:

Half of the room is sitting, taunting me: 

The goal is to finish this room by the end of June. That means painting the other side of the room, putting up the rest of the trim and bead board, painting the door, installing coat hooks into the bead board, adding open shelving above the utility sink and changing the light fixture out. 

Fingers crossed for an on-time finish and note to self to tidy up before taking the next set of pictures!