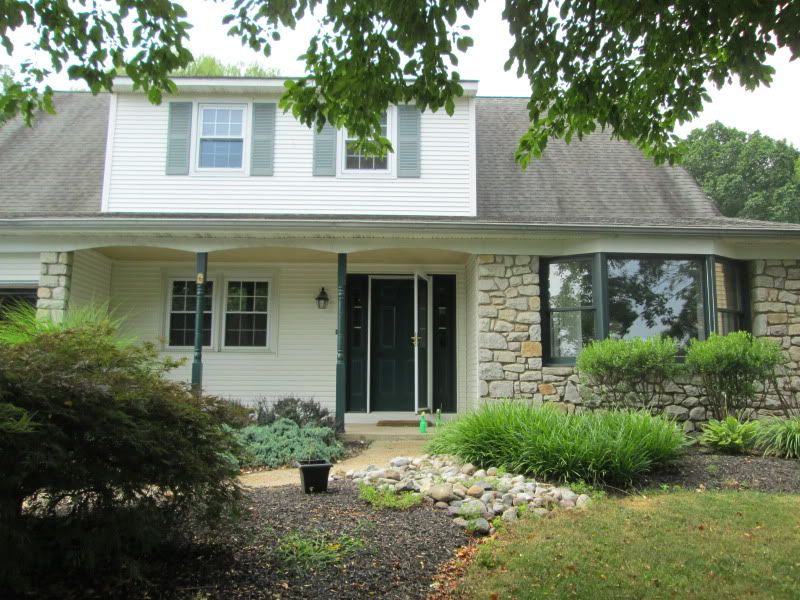
That's sort of how I felt about the outside of our how - dated, dreary and bleh. I knew when I first saw it that to make it ours the outside was going to need to change.
We've been working on our curb appeal for the last few weeks and while there's still a lot to do, I'm happy with the improvement.
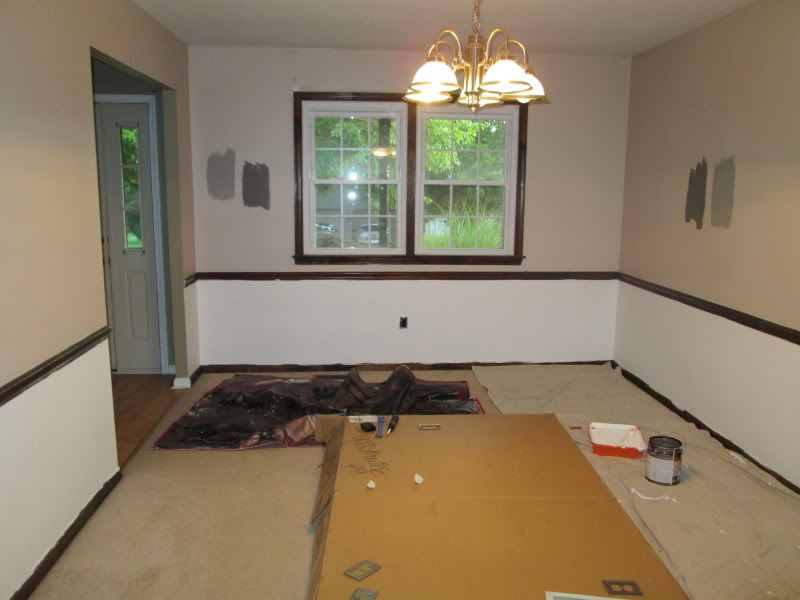
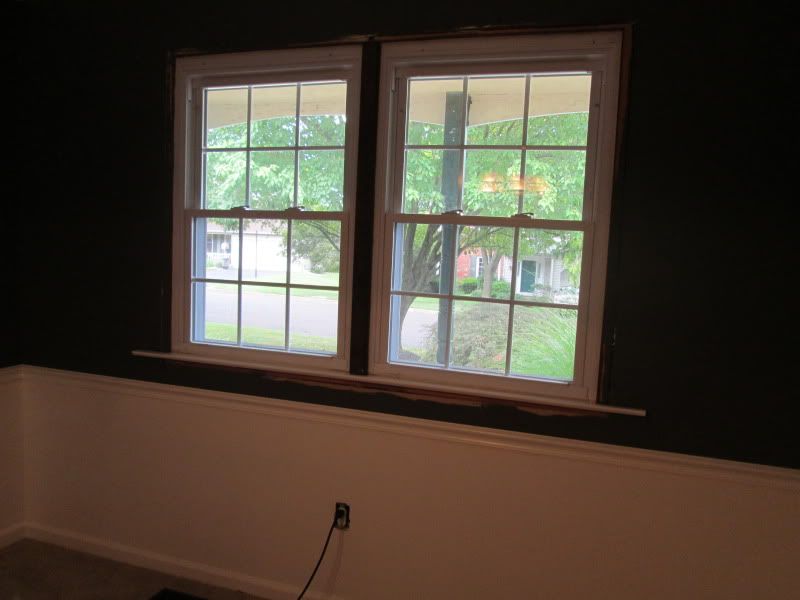
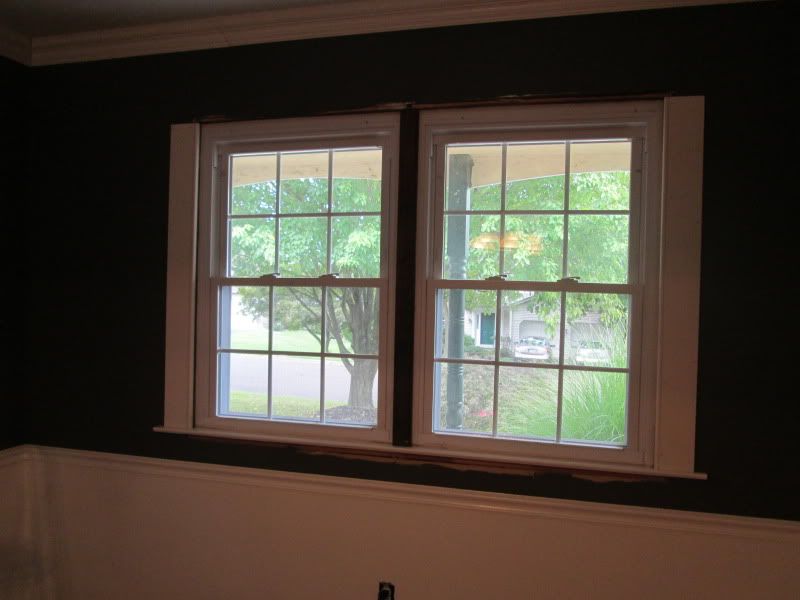
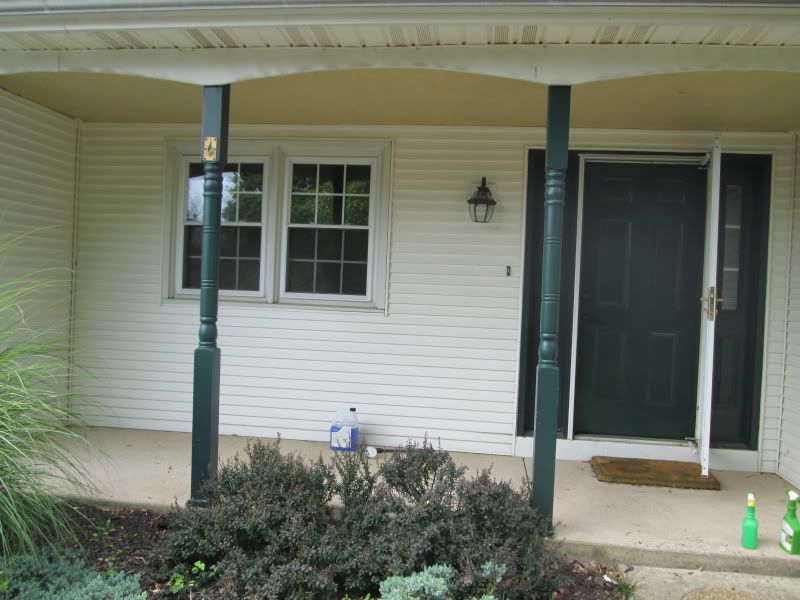
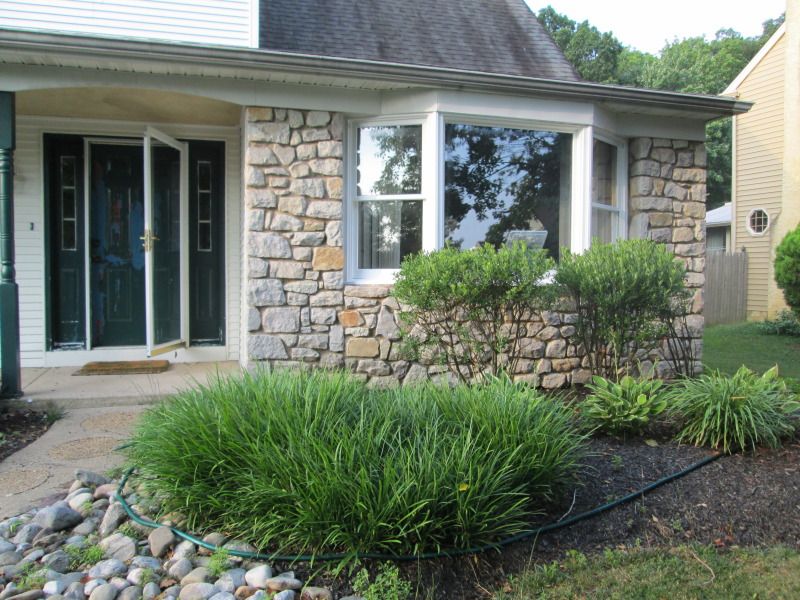
The actual start of the project was power washing the siding, but that might not be completely obvious from photos. Our first obvious change was painting the frame of the bay window white.
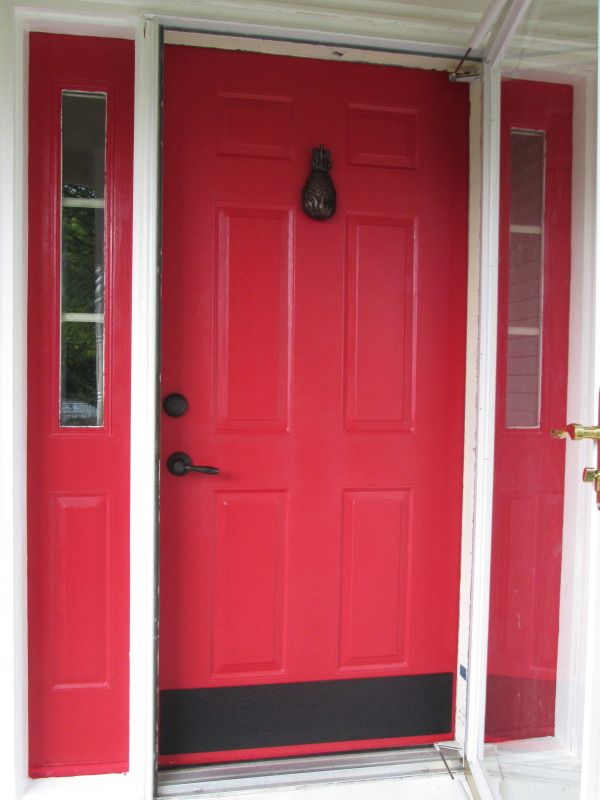
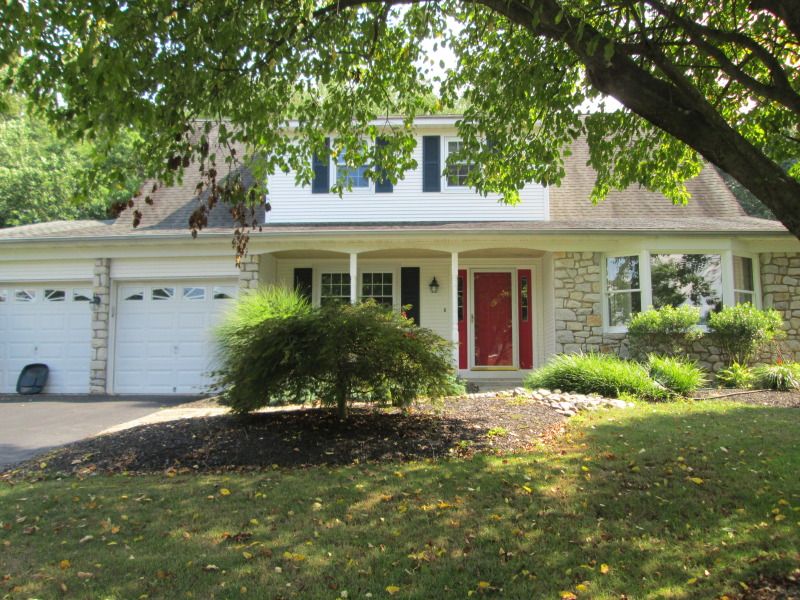
Then we really got crazy and change our shutters from green to dark blue and painted the door red. I really love red doors! The photo below shows it as Sherwin Williams Positive Red, but we actually decided it was a bit too pink.
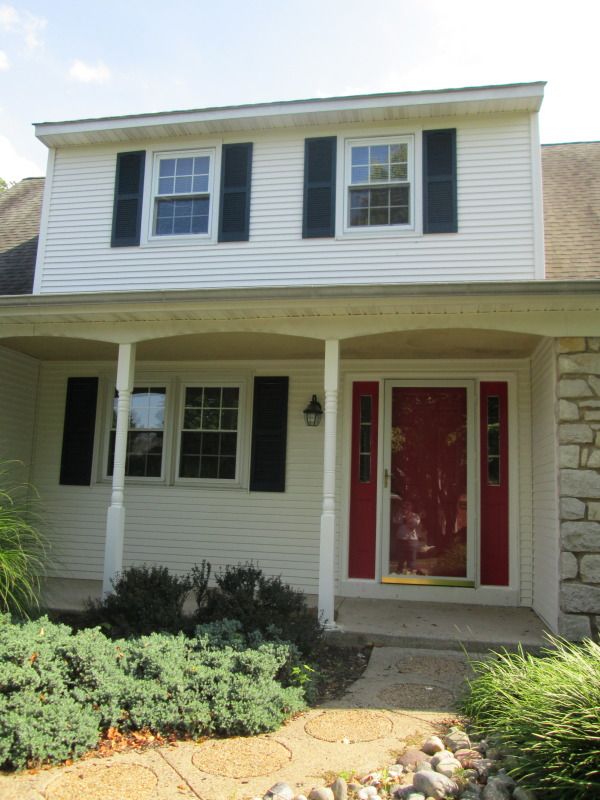
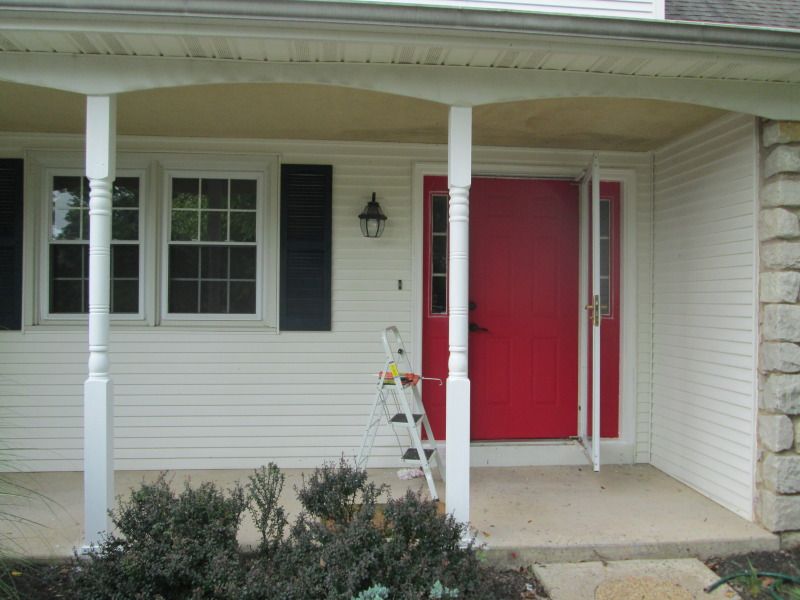
So the following weekend we went over it with Sherwin Williams Poinsettia, which had a tad more orange in it. You can't really tell the difference as well in the photos, but I swear the first color was crazy shocking pinky red. Here's Door 2.0:
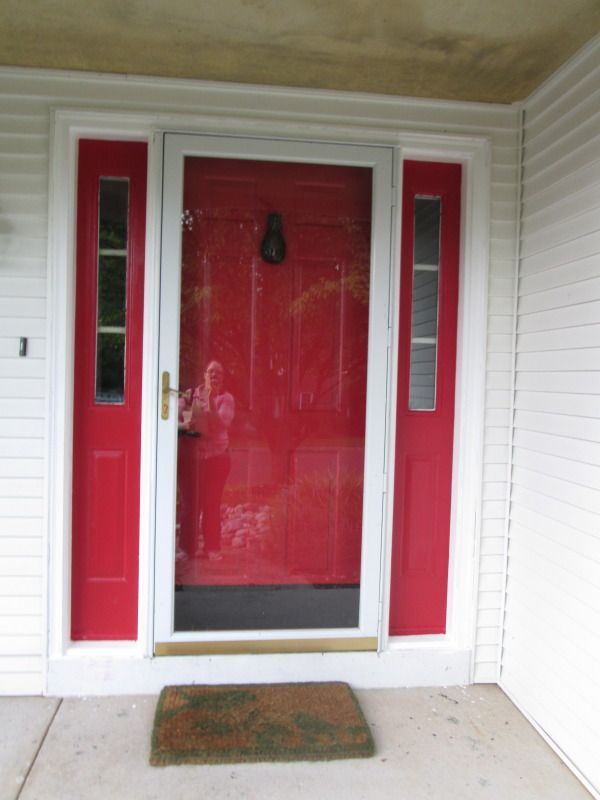
Do you like our pineapple door knocker? Why yes, that is a door bell next to the door, but the door knocker was too cute to pass up. We also put in a cast iron kick plate which is pretty heavy and should stand up to any scuffing we can throw at it.