Monday, July 23, 2012

The Dining Room has a Crown

I've been in a house rut for the last week but finally broke out of it this weekend with Josh's help. We'd attempted to install the crown molding in the dining room last weekend but were stopped dead in our tracks by our uneven walls and ceiling. We had gotten one side of the room done but couldn't proceed until we had a solution.

We had originally been using our double bevel miter saw to do standard angles, but those don't work with overly wonky walls. That meant that we had to cope the joints.

Coping the joint means that you remove the material behind the face of the molding. Here's a picture of someone doing it with a coping saw:


Anyone who knows my history with kitchen knives knows that isn't something I should try. I'm pretty sure I would have hurt myself using a coping saw. Luckily, we have a Dremel and with the quick purchase of a carbide shaping wheel attachment (~$15) we were in business. 

Once the joints were coped, life got much easier and we were able to push everything where it needed to be to look nice and straight.


Behold - pretty, caukable joints that will look great once everything is filled and painted.

Tuesday, July 17, 2012

I Hate Painter's Tape.

Because it only works about half of the time, even when I spring for the good stuff:


I used it to tape off the top section of the dining room so that I could paint the chair rail white. Three coats later, here's what we had when I pulled it off.


It's sort of lacking that crisp, clean finish I was hoping for. The room looked a bit wonky.


Fortunately, the fix was easier than I thought. I'm a pretty crappy painter, but I took a 1'' straight trim brush and cut in around the top of the rail. It looks so much better now.  I keep stopping to look at it every time I walk by!


The big finish will be delayed another week because the lumber yard doesn't stock our window sill profile and it has to be special ordered. Hopefully we can do the crown in the meantime.

Thursday, July 12, 2012

Garden Update - July

It occurred to me as I was looking at my original garden post that the whole thing has just gone gangbusters in the last month. Here's how things looked in early June:


This is the picture I took this morning:

The zucchini have been particularly productive. I've already gotten more than 30 from three plants. Some of the tomatoes are just starting to ripen. The Super Sweet 100s were the first, but I tend to snack on them while I'm working on the rest of the garden, so often they don't make it to the house.

Here's the rest of the garden tour:

 The extremely prolific zucchini. 

Black Knight Eggplant. Haven't harvested any yet, but they're on their way. 

California Wonder Peppers. 

Hot Pepper.

Delicata Squash. 

Celebrity Tomatoes. These are pretty big and I harvested the first one yesterday. 

Mucho Nacho Jalapenos. I've harvested six so far and they aren't very hot, but are great on the grill stuffed with cheese (cut the top off, core and stuff it, and then put a skewer through it lengthwise to keep them from falling apart). 
 
 Super Sweet 100s. Perfect garden snack!

 White Eggplant. I harvested the first three on Wednesday and they were delicious!

 
Soybeans. These won't be ready for another six weeks or so, but we're looking forward to some garden fresh edamame. 

This is a garden bed the previous owners had on the side of the house. It gets partial shade so it's great for carrots, lettuce, parsley, dill, onions and rosemary. 

And finally, the potted specialty herbs that will eventually make their home on our kitchen window sill. From L to R: lemon thyme, barbecue rosemary, tuscan blue rosemary and pesto basil.

Tuesday, July 10, 2012

"Finishing" the Family Room

We've hung the curtains and added a few decorative items to the family room, but I still don't think of it as "finished". However, I expect that the remaining touches will be more gradual, the result of finding decorative items over time. That said - the room is officially fully functional.

I do own a sewing machine and while I don't use it that frequently, the price of curtains convinced me that ordering fabric and sewing them myself was the best option. It wasn't cheap, but we ended up with a higher quality fabric than what we would have gotten for the same price if they had been pre-made. They are also exactly the perfect length, which can't be said for store bought.

I ordered Waverly's Ellis print in Flamingo and used six yards at a cost of $59.50.


I'm pretty happy with the "finished" product:


Still on the to do list:
- Sew new, larger throw pillows for the couches
- Add a few trinkets to the shelves
- Figure out what to do with the sides of the fireplace


Friday, July 6, 2012

Choosing the Crown

I love the charm of old homes, but we had decided to go with something younger early in our house hunt. Not that there aren't issues in our late 80's home, but the increased insurance costs paired with the requirements of owning a home with a historical designation (LOTS of rules and regulations for how you fix and upgrade things) made us feel like it just wasn't a good idea for our first house. As a compromise, Josh told me that I could add charming details to whatever house we bought.

So begins my first crown molding project - the dining room. As previously mentioned, we're going for an elegant, formal feel and the moldings really need to reflect that without going too over the top. Something like this would be very out of place in our 1986 center hall colonial with eight foot ceilings:

myfinishcarpetry.com is the former site of The Joy of Moldings

In all of my internet research, the best blog that I've found is The Joy of Moldings. They break their projects down well and show the exact combinations of pieces that are used. Ken is completely opposed to one-piece moldings and reading his posts convinced me that we needed a three-piece molding. What do I mean by one-piece and three-piece? Here is the one-piece next to the three-piece sample I made for the dining room:


And the profile of the three-piece. You can see that there is a flat piece at the bottom and an ogee baseboard at the top. The one-piece is only the middle molding.


Josh named the three-piece crown "monster molding" and thought it would be a bit too much for the space. Of course by expressing that sentiment he was volunteering to spend 30 minutes on a ladder in the dining room holding them up so that I could ponder the decision.


 I'm pretty sure he's holding it upside down, here. 

I hate when this happens, but I think he's right.  The three-piece would be overpowering to the rest of the room and our ceiling height just doesn't work with it. I may eventually add a picture rail below it to take it up a notch, but again, that will depend on the door casing which will depend on the wainscoting which will depend on the flooring, so it's a tbd for now.

Tuesday, July 3, 2012

Porpoise in the Dining Room

Josh has really been wanting to get the dining room done so that we can have his brothers over for a nice dinner when they're in town in August. The off-white and mauve color scheme we moved into just wasn't cutting it.


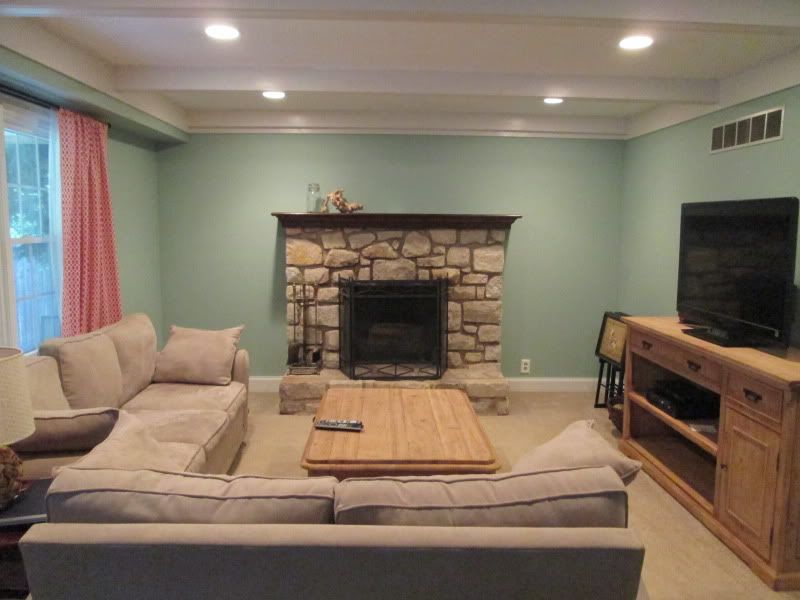
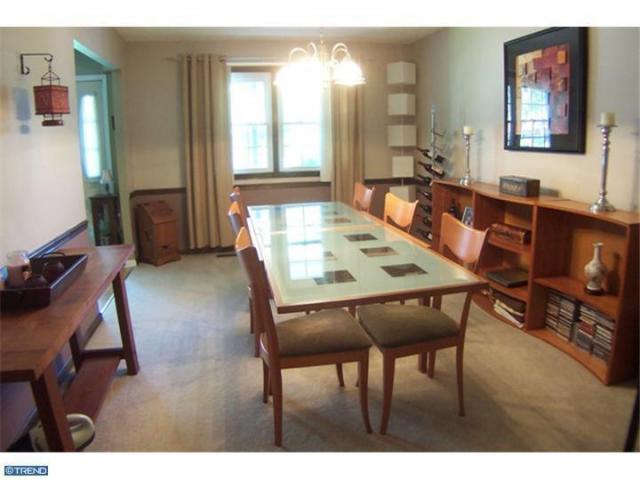
We really want something more elegant and formal, like this:

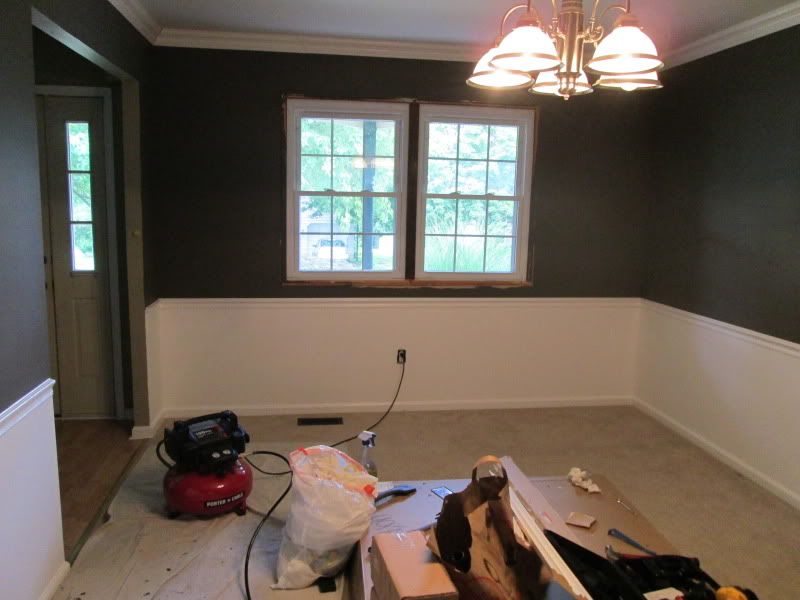
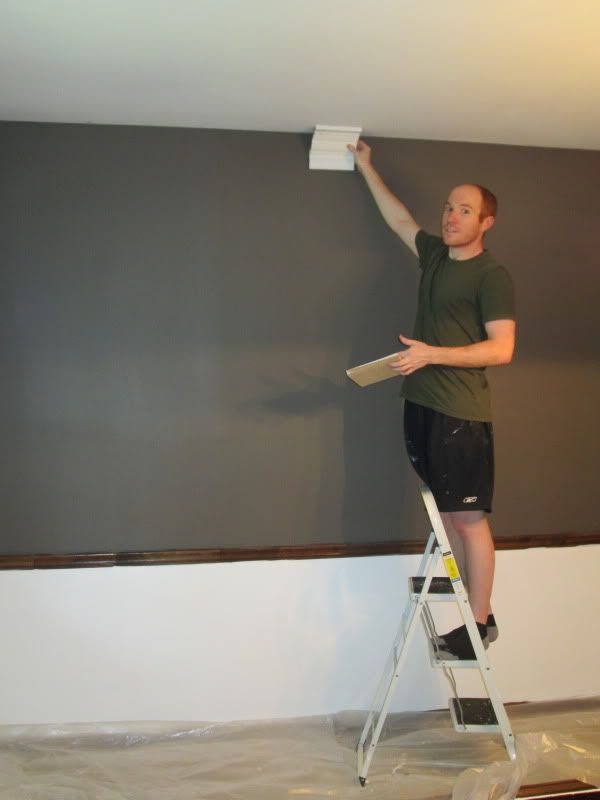
Okay, maybe without the lucite chairs, but you get the idea. We'll eventually do full wainscoting on the lower half, but it doesn't make sense to do it when we plan to put in hardwood in the next 1-2 years since we'd just have to take it out again. So, while I was out for a girls night last weekend Josh painted the wall below the chair rail white:


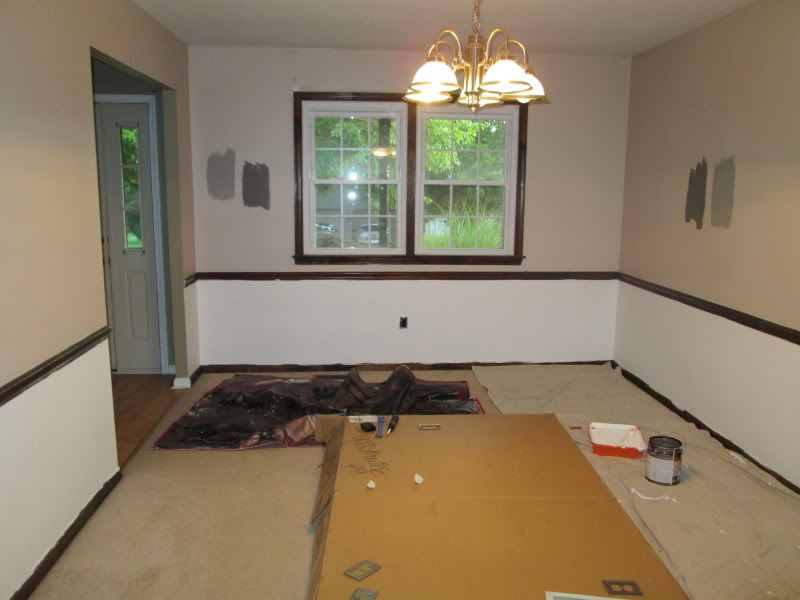
See those two paint swatches on the wall? The lighter one is Sherwin Williams Dorian Gray and the darker one is Sherwin Williams Gauntlet Gray. After I read 
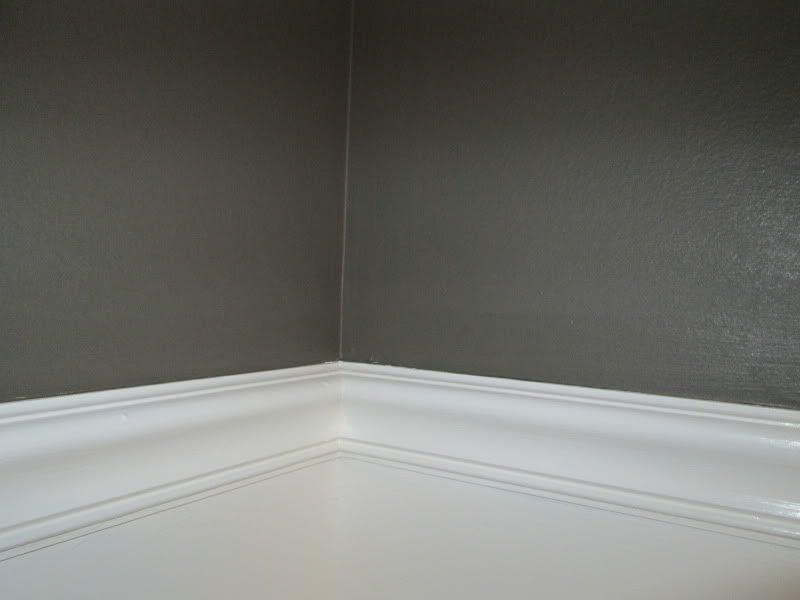
this article on picking a gray on Houzz, I decided not to go with either and switched from the "cool neutrals" to the "warm neutrals". The winner ended up being Sherwin Williams Porpoise:

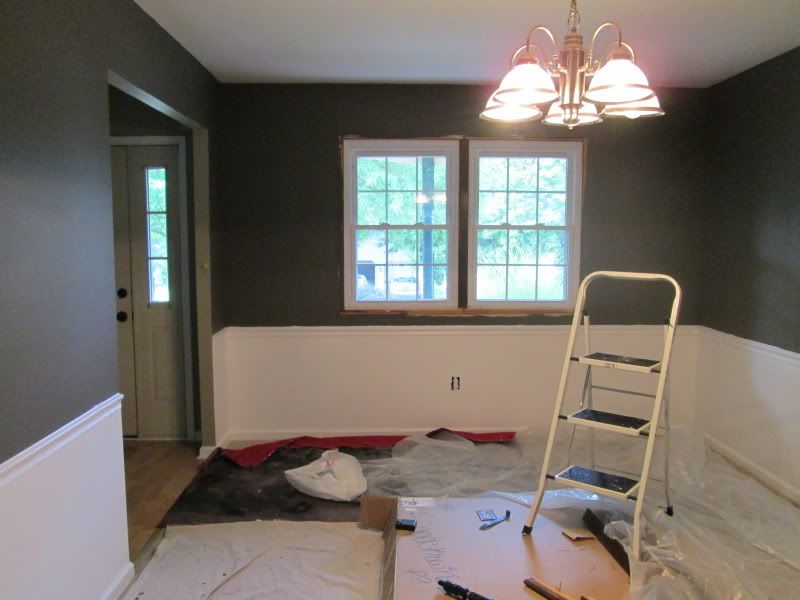
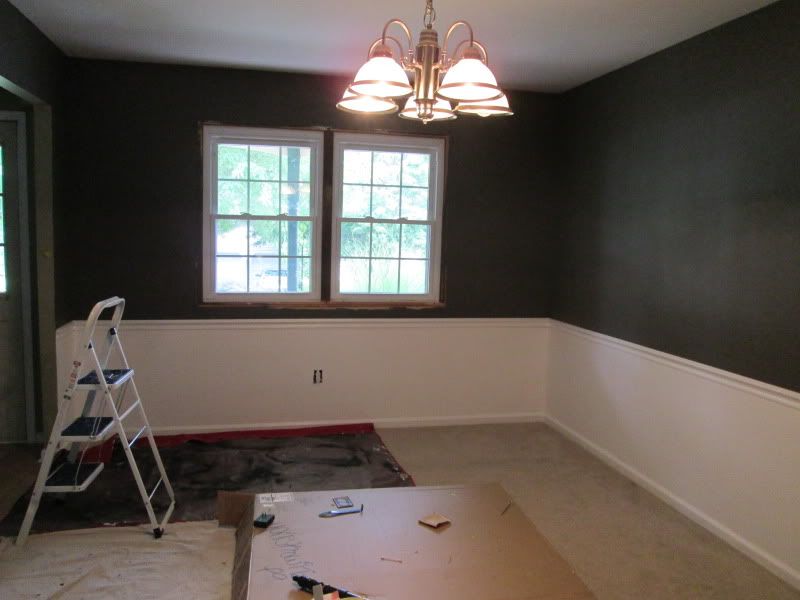
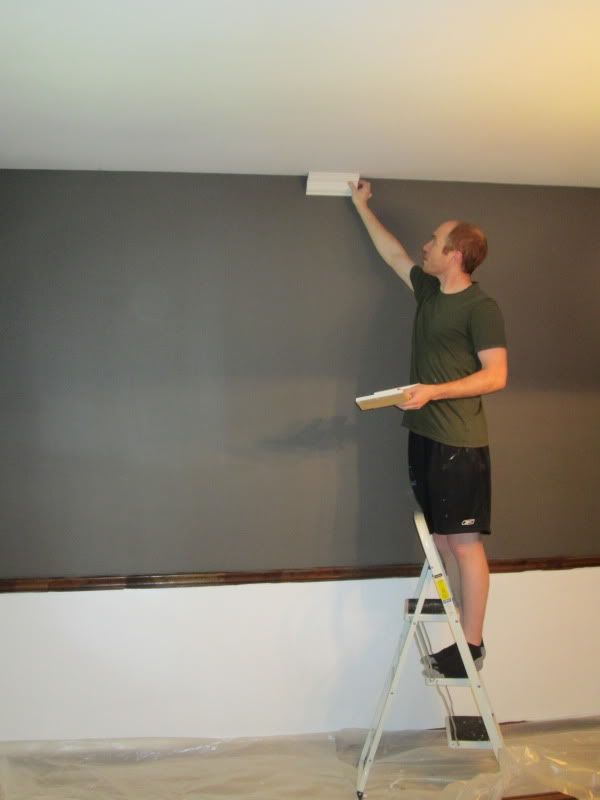
It's a gray with a hint of brown and I love it. Here it is on the top half of the walls:


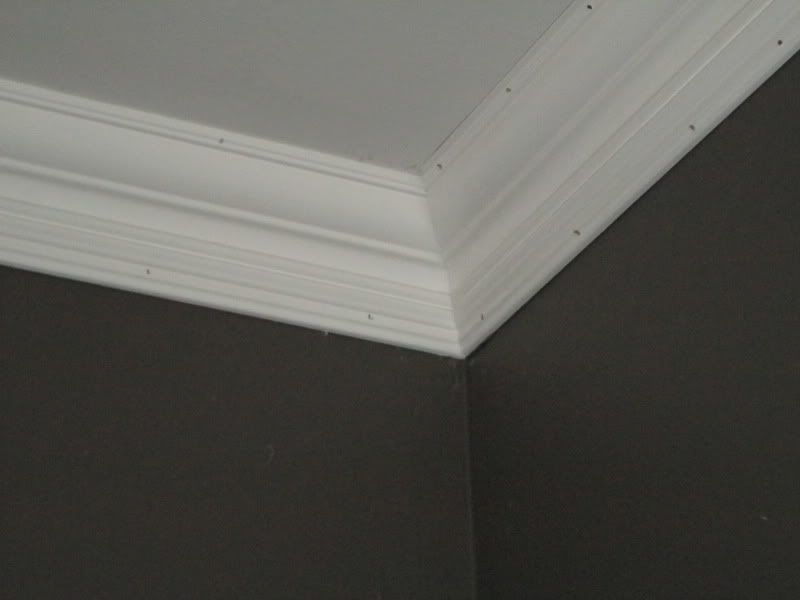
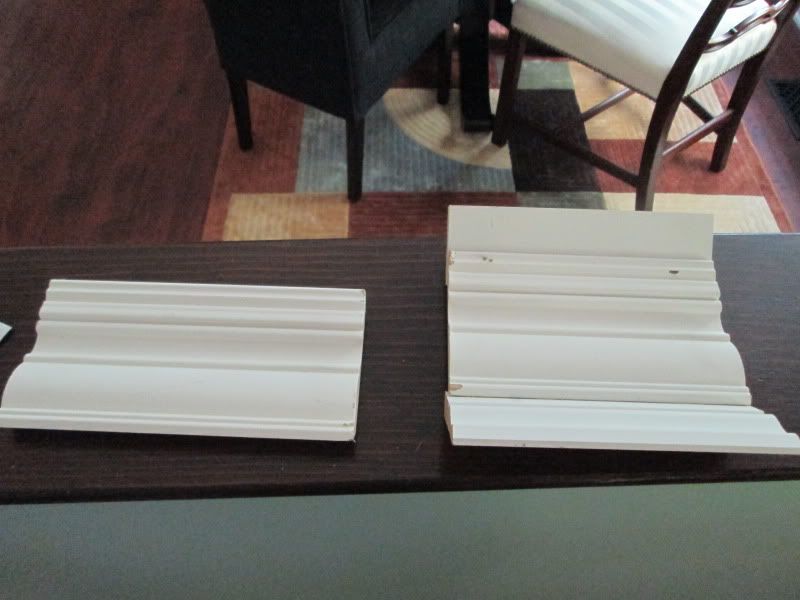
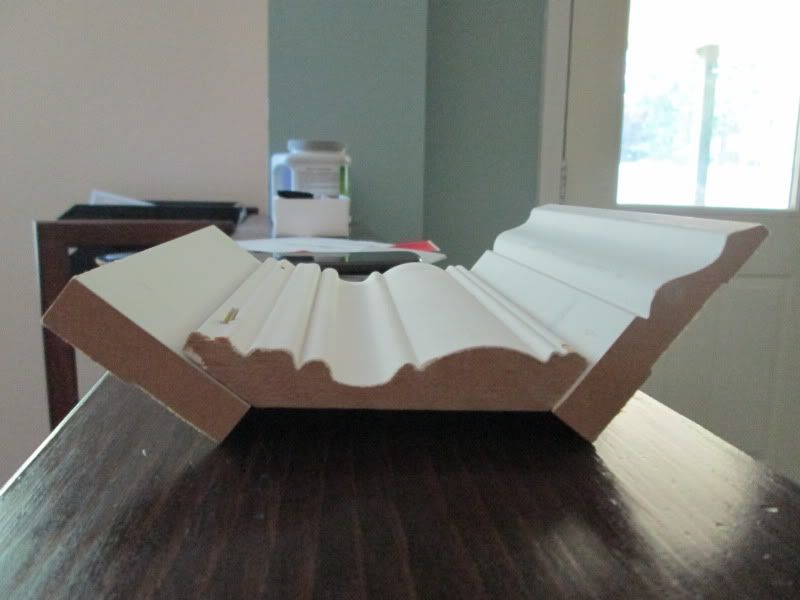
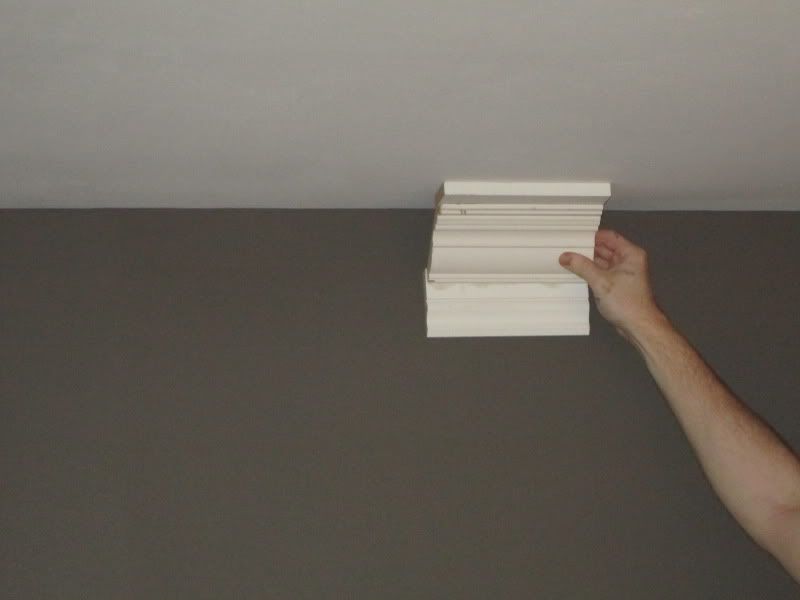
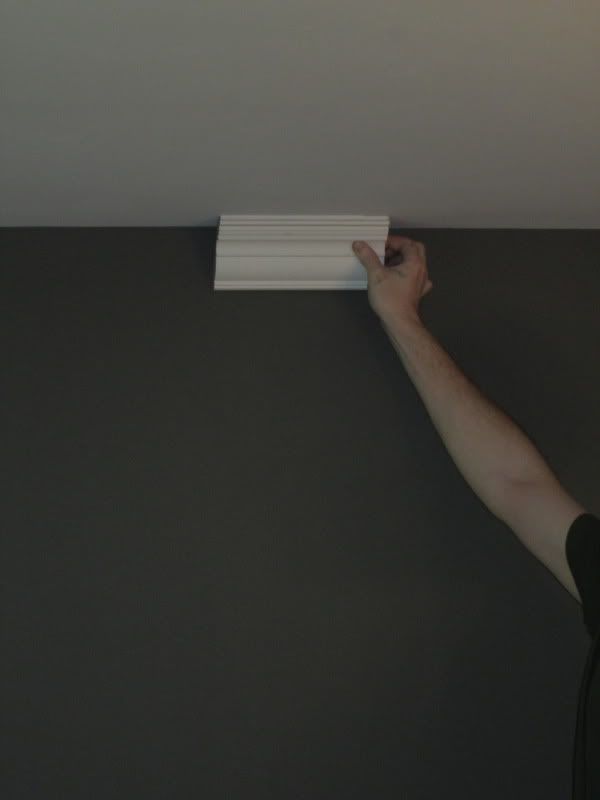
You may be able to tell that the window casing has been removed, which is another part of the redesign. I'll be switching it out for something a bit thicker and more formal and adding crown molding. For now, that's about all that I can do since any other molding elements would be affected by the flooring change.

Hopefully this will be completed in the next two weeks, but there is definitely a lot more to be completed:
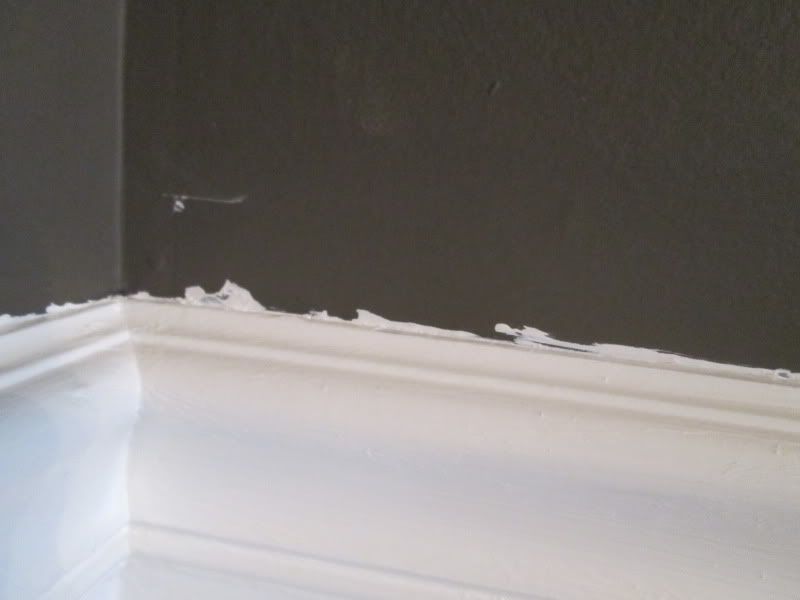
- putting another coat of white on the lower wall
- changing brown electrical outlets out for white
- painting base molding and chair rail white
- installing, caulking and painting the new window casing
- installing, caulking and painting crown molding
- putting in a new light fixture

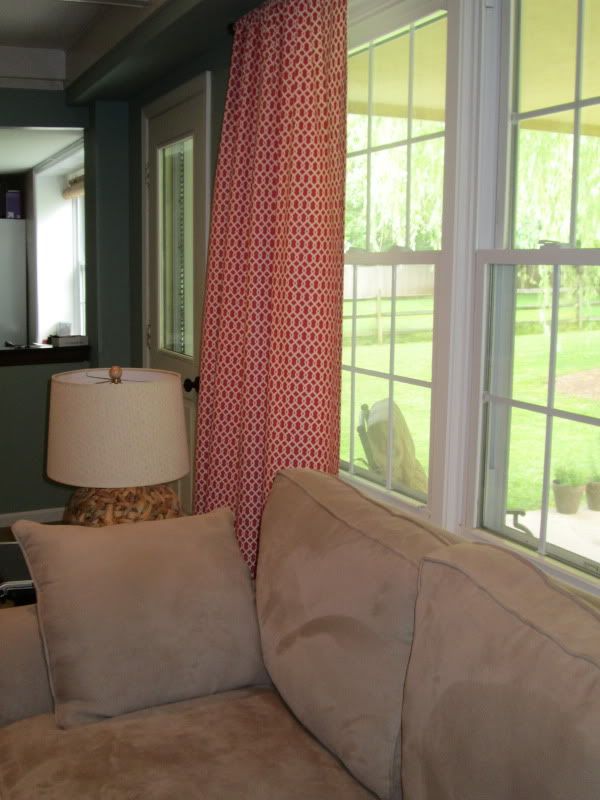
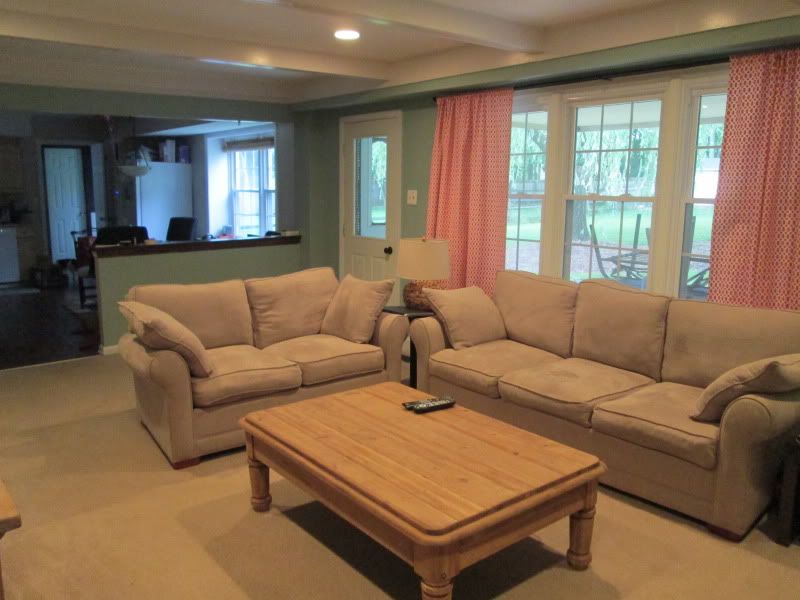
Curtains are also on the docket, but choosing a fabric has been challenging. I'm hoping that as the room comes together the decision will be easier.